 An item was added to cart!


CANNABIS LEAF CURING
Leaf curing is without a doubt the most labor intensive and esoteric process in the production of cannagars.
This is what separates the casually curious from those who are serious about the art of the leaf-wrapped cannabis cigar.
Leaf curing requires patience, commitment, and loads of special care.
It takes time and attention to nail what has become my standard leaf curing process, but the end result is more than worth it.
The Chlorophyll Problem
My first cannagars (2016-2020) had a problem. They looked pretty, but the initial taste didn't last long.
The first few puffs were amazing, then over the course of the session that unmistakable "green" flavor builds up on the tongue. My old arch nemesis. The amazing cannagar experience is soured by an intrusive flavor, and that flavor is chlorophyll.
I have been teaching my methods for 7 years, and I have been a part of many different attempts to craft the perfect cannabis / hemp leaf wrapper.
I have experimented with : ethanol washing leaves, using citric acid to condition the leaf and give a lovely leathery appearance (and at one time was thought to improve on the chlorophyll problem), adding terpenes to water that the leaves would uptake like flowers in a vase, and many other development experiments.
Some of these worked nicely - the alcohol washing did a pretty good job. However - it was proving to be seriously expensive to process leaves this way, so that was abandoned by the creator who was testing on it.
The citric acid did create a nice look. But... that's about all it does.
Terpenes sounded like a great idea, but unfortunately many terpenes are also solvents and this seemed to cause unpredictable reactions in testing. My Sour D terps actually ate a hole through the leaf!
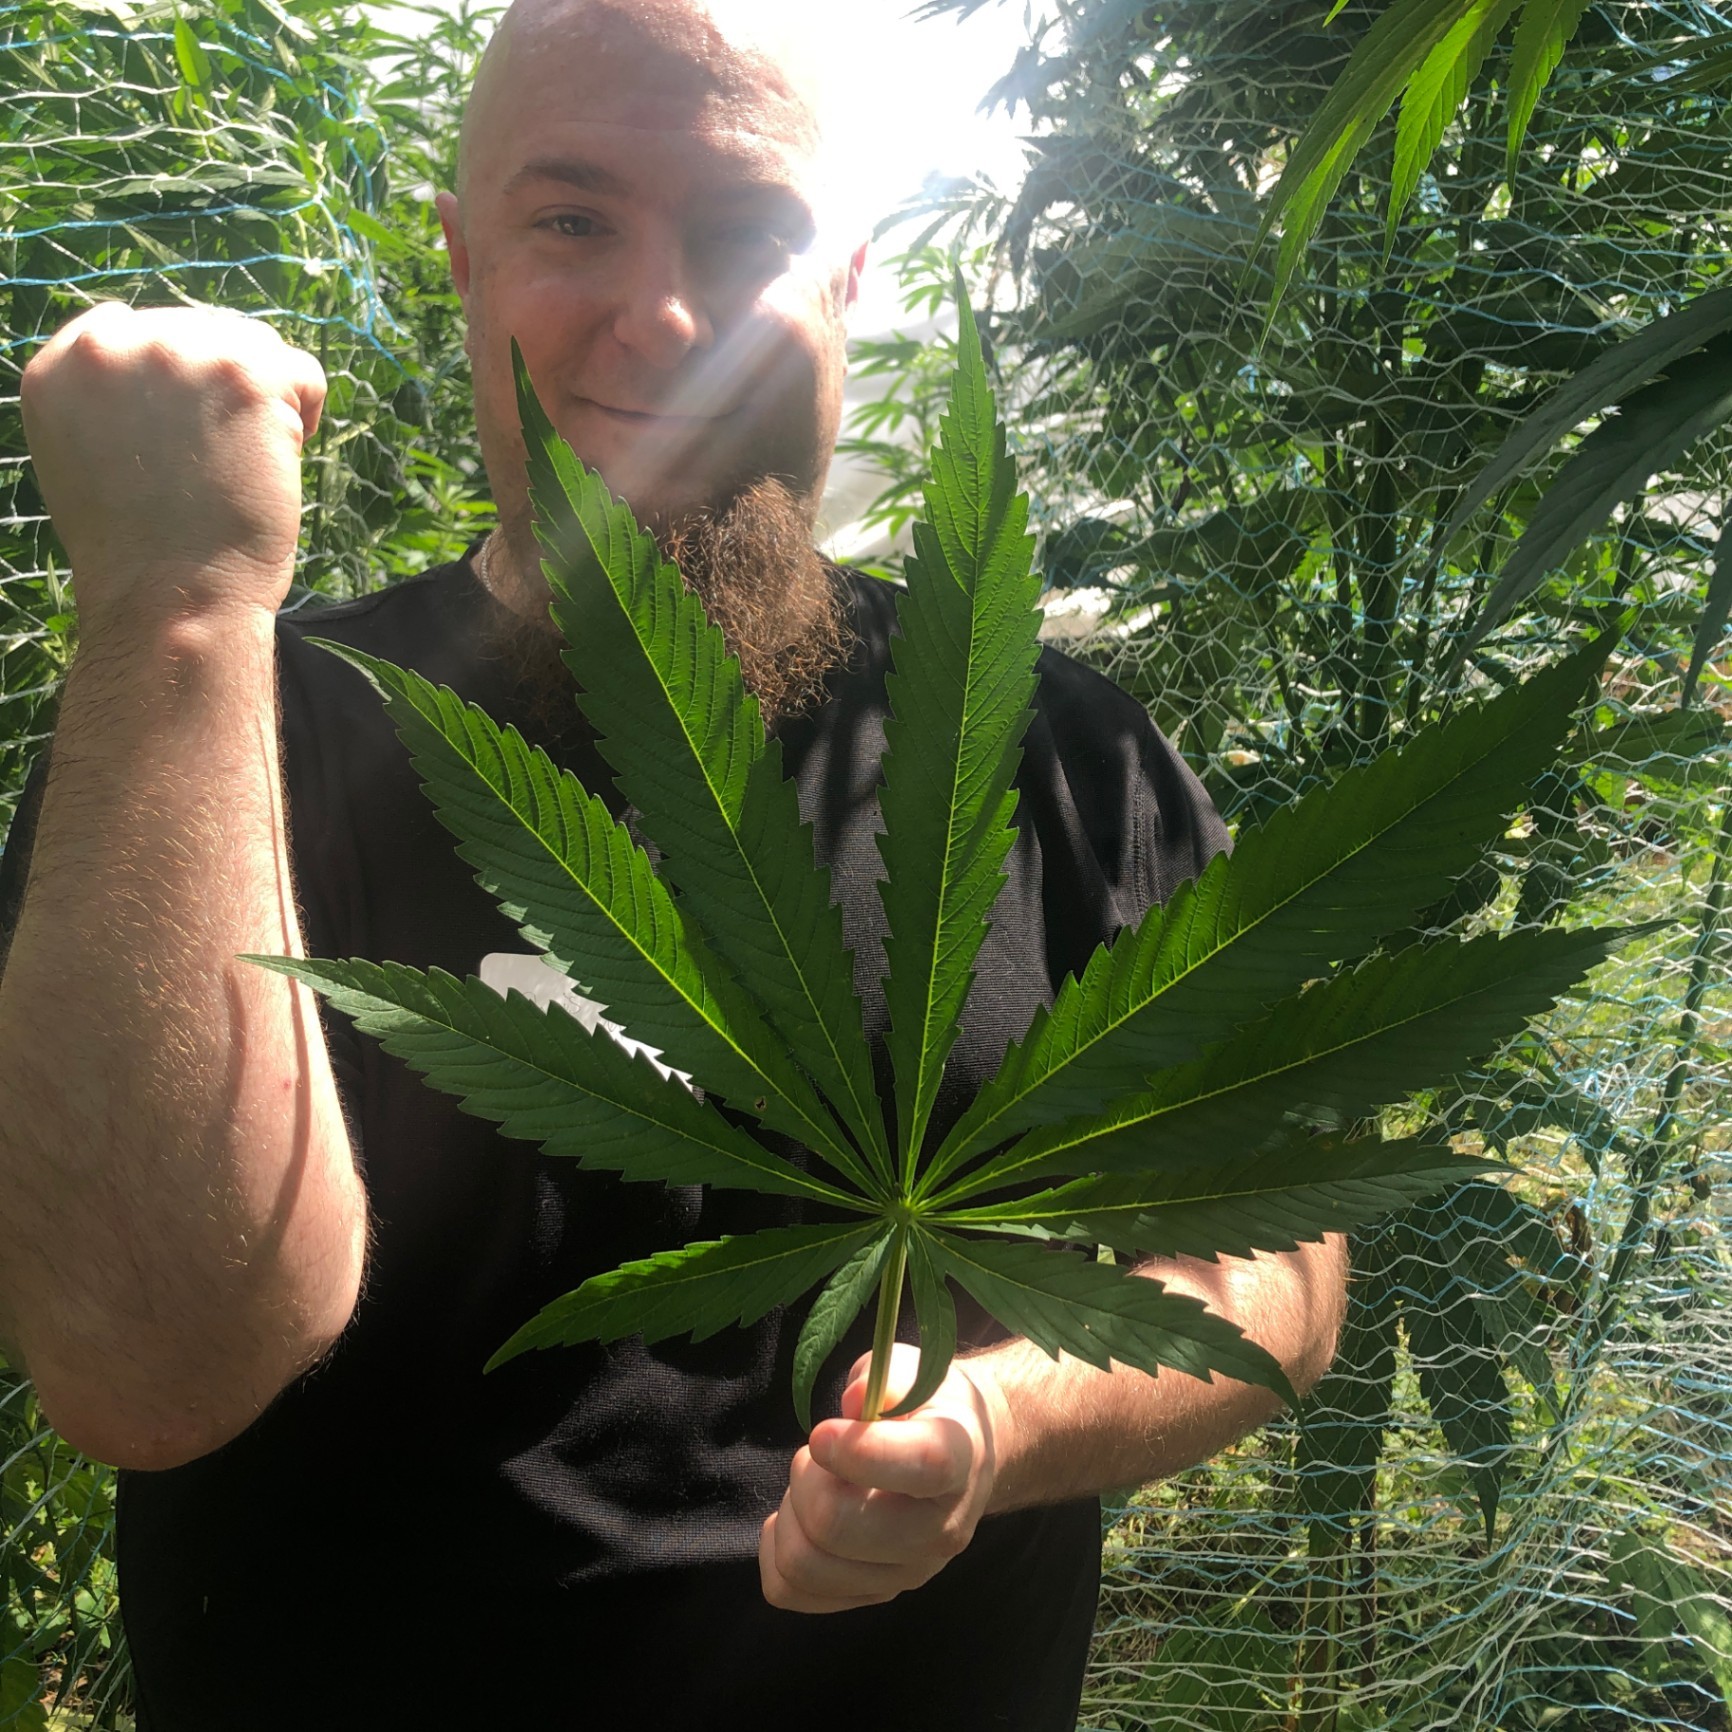
Leaf Selection
The best leaves will be pristine leaves with no damage (no tears, decomposition, or injury).
Ideally they will come from an organic or permaculture style garden that is committed to zero industrial pesticides.
This is .... incredibly hard to find. Even the farms that claimed to not spray, I've caught them spraying.
Normally the leaf is trash and so no one thinks twice before dumping loads of pesticide and other things on them during vegetative stages. That practice can really harm the cannagar curing process later. The impact of chemical agents is somewhat unpredictable during curing where you are trying to control decomposition and arrest it.
I prefer to procure my leaves from an organic farmer that uses a host of solutions like lady bugs, frogs, and other things, instead of using pesticides.
Back to the Basics
I decided to look to the traditional cigar world to learn about how they cured tobacco leaves.
This happened because I was introduced to a green tobacco cigar. Apparently those exist.
And let me tell ya, it tasted fucking awful.
And I immediately knew - they had the same issue. There is a reason why I had never seen a green tobacco cigar. It's not that they didn't exist. Hell, even some people seem to prefer them.
No. It's that they applied a specific element to their curing which browns the leaves and kills all the chlorophyll in the process.
HEAT
In tobacco land, they pile the leaves together in giant bundles and put them in a specially created hot and humid environment called a Flue. The humidity is needed to prevent drying out and destruction of the leaves, but the humidity at lower temps causes mold. So they add a fireplace. The result is called flue. Flue cured tobacco is bundled and stored in what amounts to a special sauna with the right amount of heat and humidity.
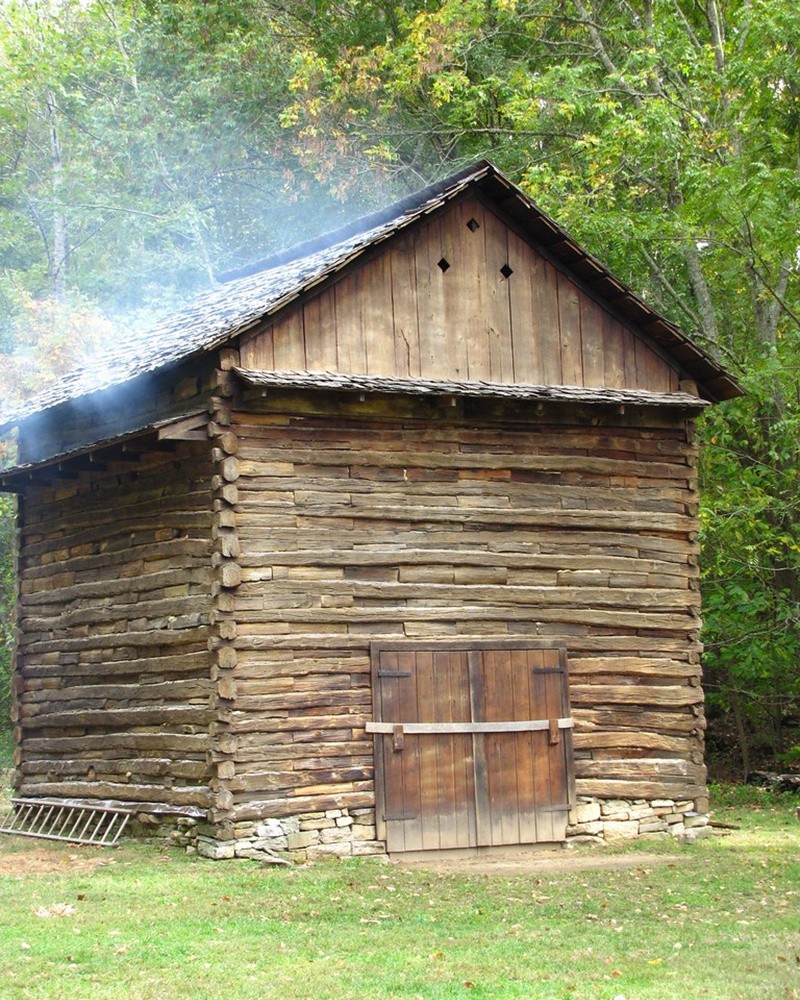
Adding trapped heat destroys mold and bacteria, effectively creating a sterilization that prevents complications, but it simultaneously does something special that eliminates chlorophyll.
Heat denatures the proteins that cause the green color (and flavor).
Over time the leaves turn that lovely familiar brown and the longer they are cured, the darker brown they become.
I decided to re-create this process using tools that most cannabis producer/processors will have available.
Vacuum bags + Vacuum Oven = Leaf Curing in house!
First you need to wash the leaves and treat them to alter PH. I still do this even. Immediately after taking the leaves from the garden, I flush them by putting them into a big sterlite bin with distilled water, and a pinch of baking soda.
1 Teaspoon per gallon of water.
After you have washed the leaves, you remove them and spread them across a table to quickly remove excess moisture.
To prep them, the last part is clipping off the big stems before putting them into your vacuum bags.
This part is more important than you might think. Removing the big stems now prevents ripping and tearing later.

This is where many people stop and say "nope, too much work for us!", and then they go back to hemp wrappers, blunt wraps, or fancy papers.
If you are still reading and excited at the idea of taking on this labor of love, read on!
You will now pile those carefully prepped leaves gently, trying your best to ensure they don't get woven together too much. You do not want to much fan blade weaving going on, as it will make the leaves harder to separate later.
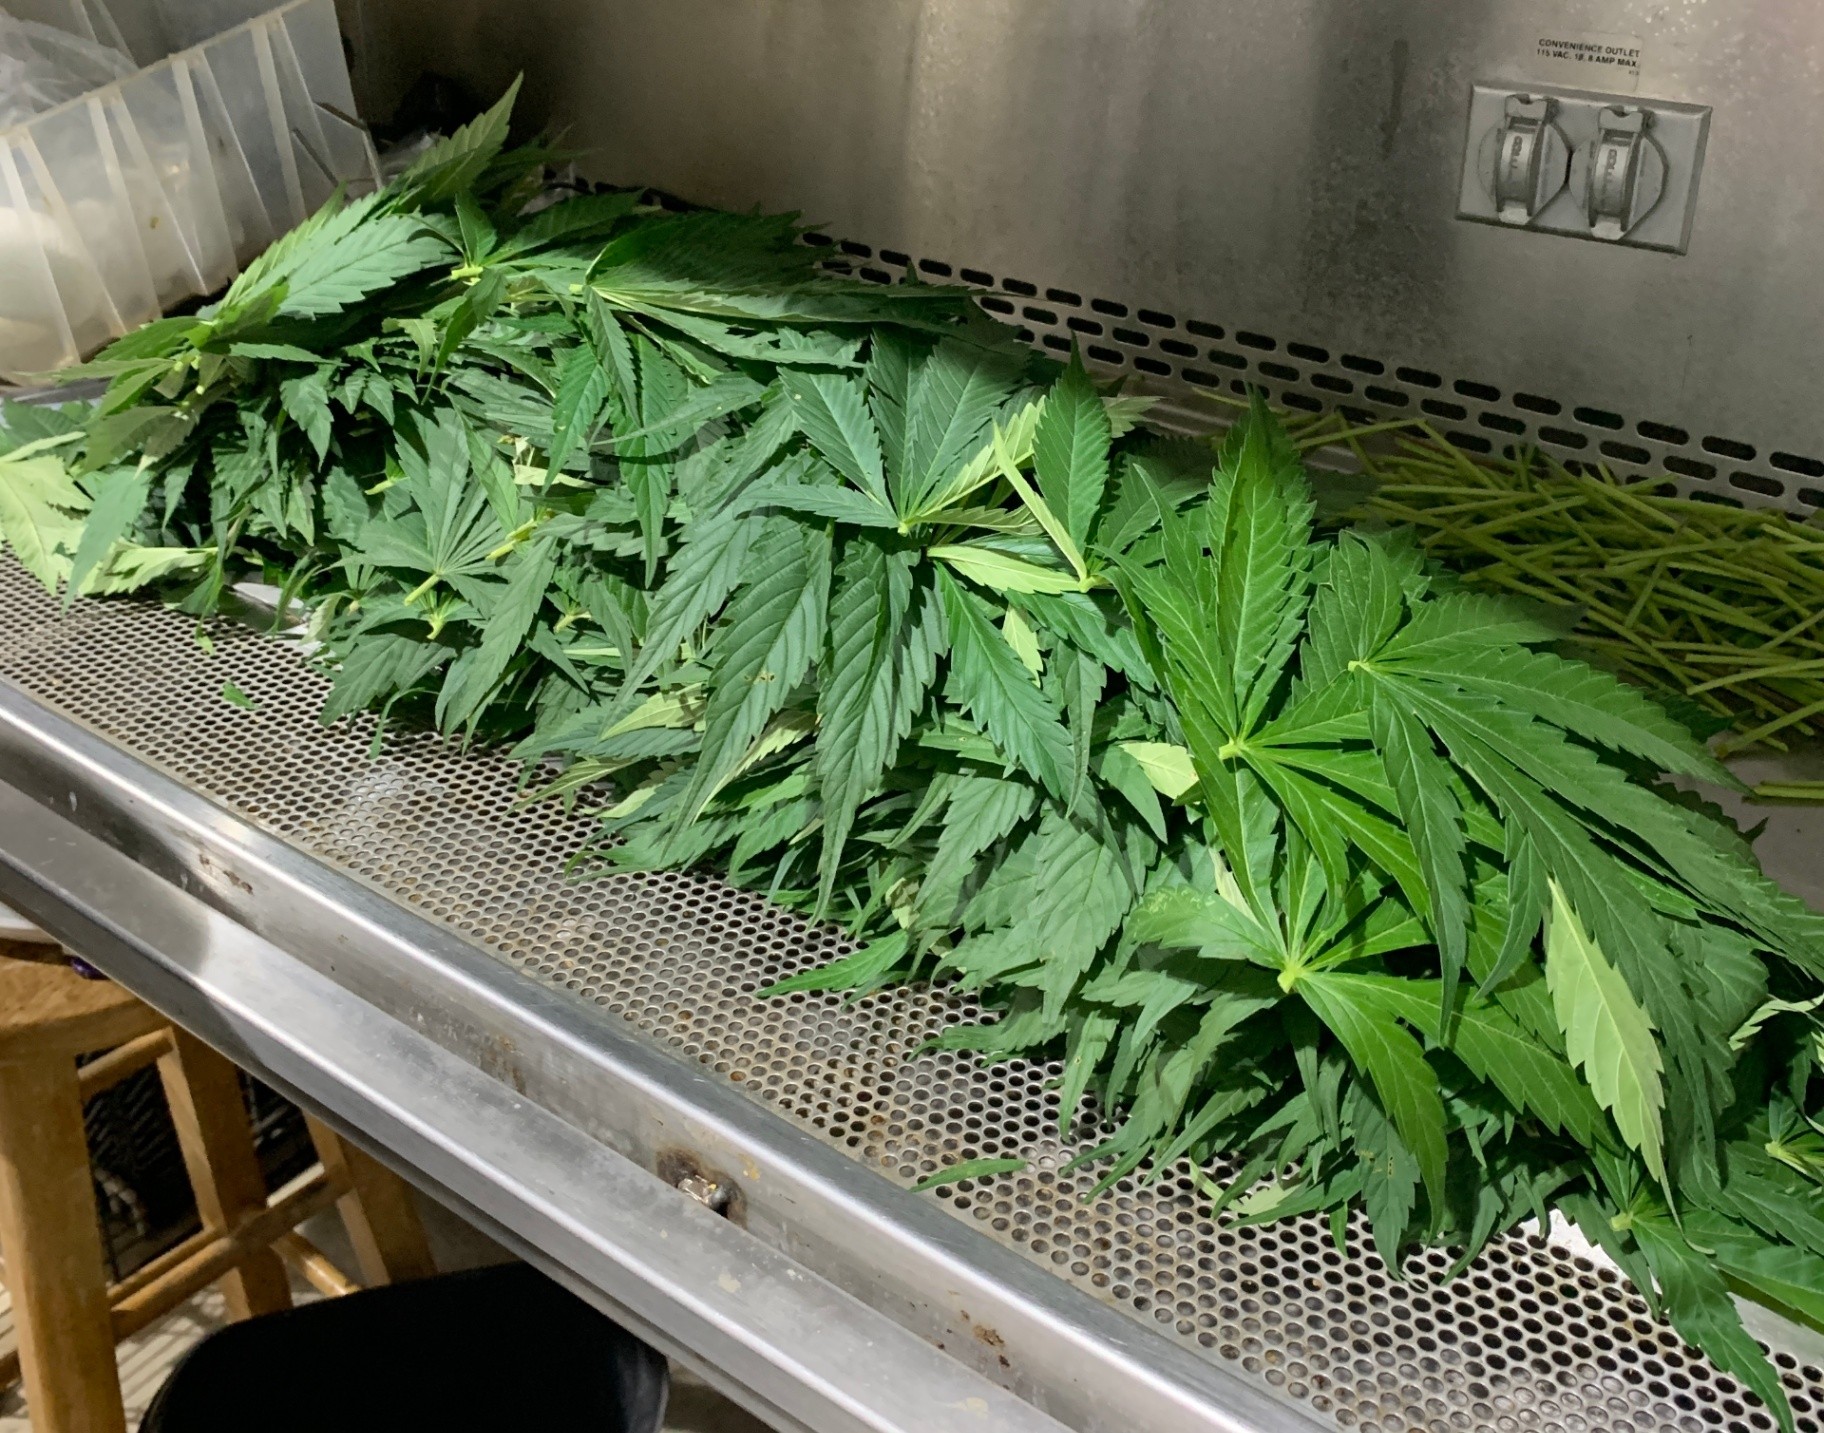
Next, it is time to stick those piles into your vacuum bags.
Fill the bags as much as possible, close the seal, connect the air pump to the valve, and suck out the air.
It is best to not overfill, which can cause lots of damaged leaf tips and uneven curing because of a variance between what is in the center and what is on the outside. If the bag is so full that it cannot be completely flattened by the vacuum pump, then. it is too full.
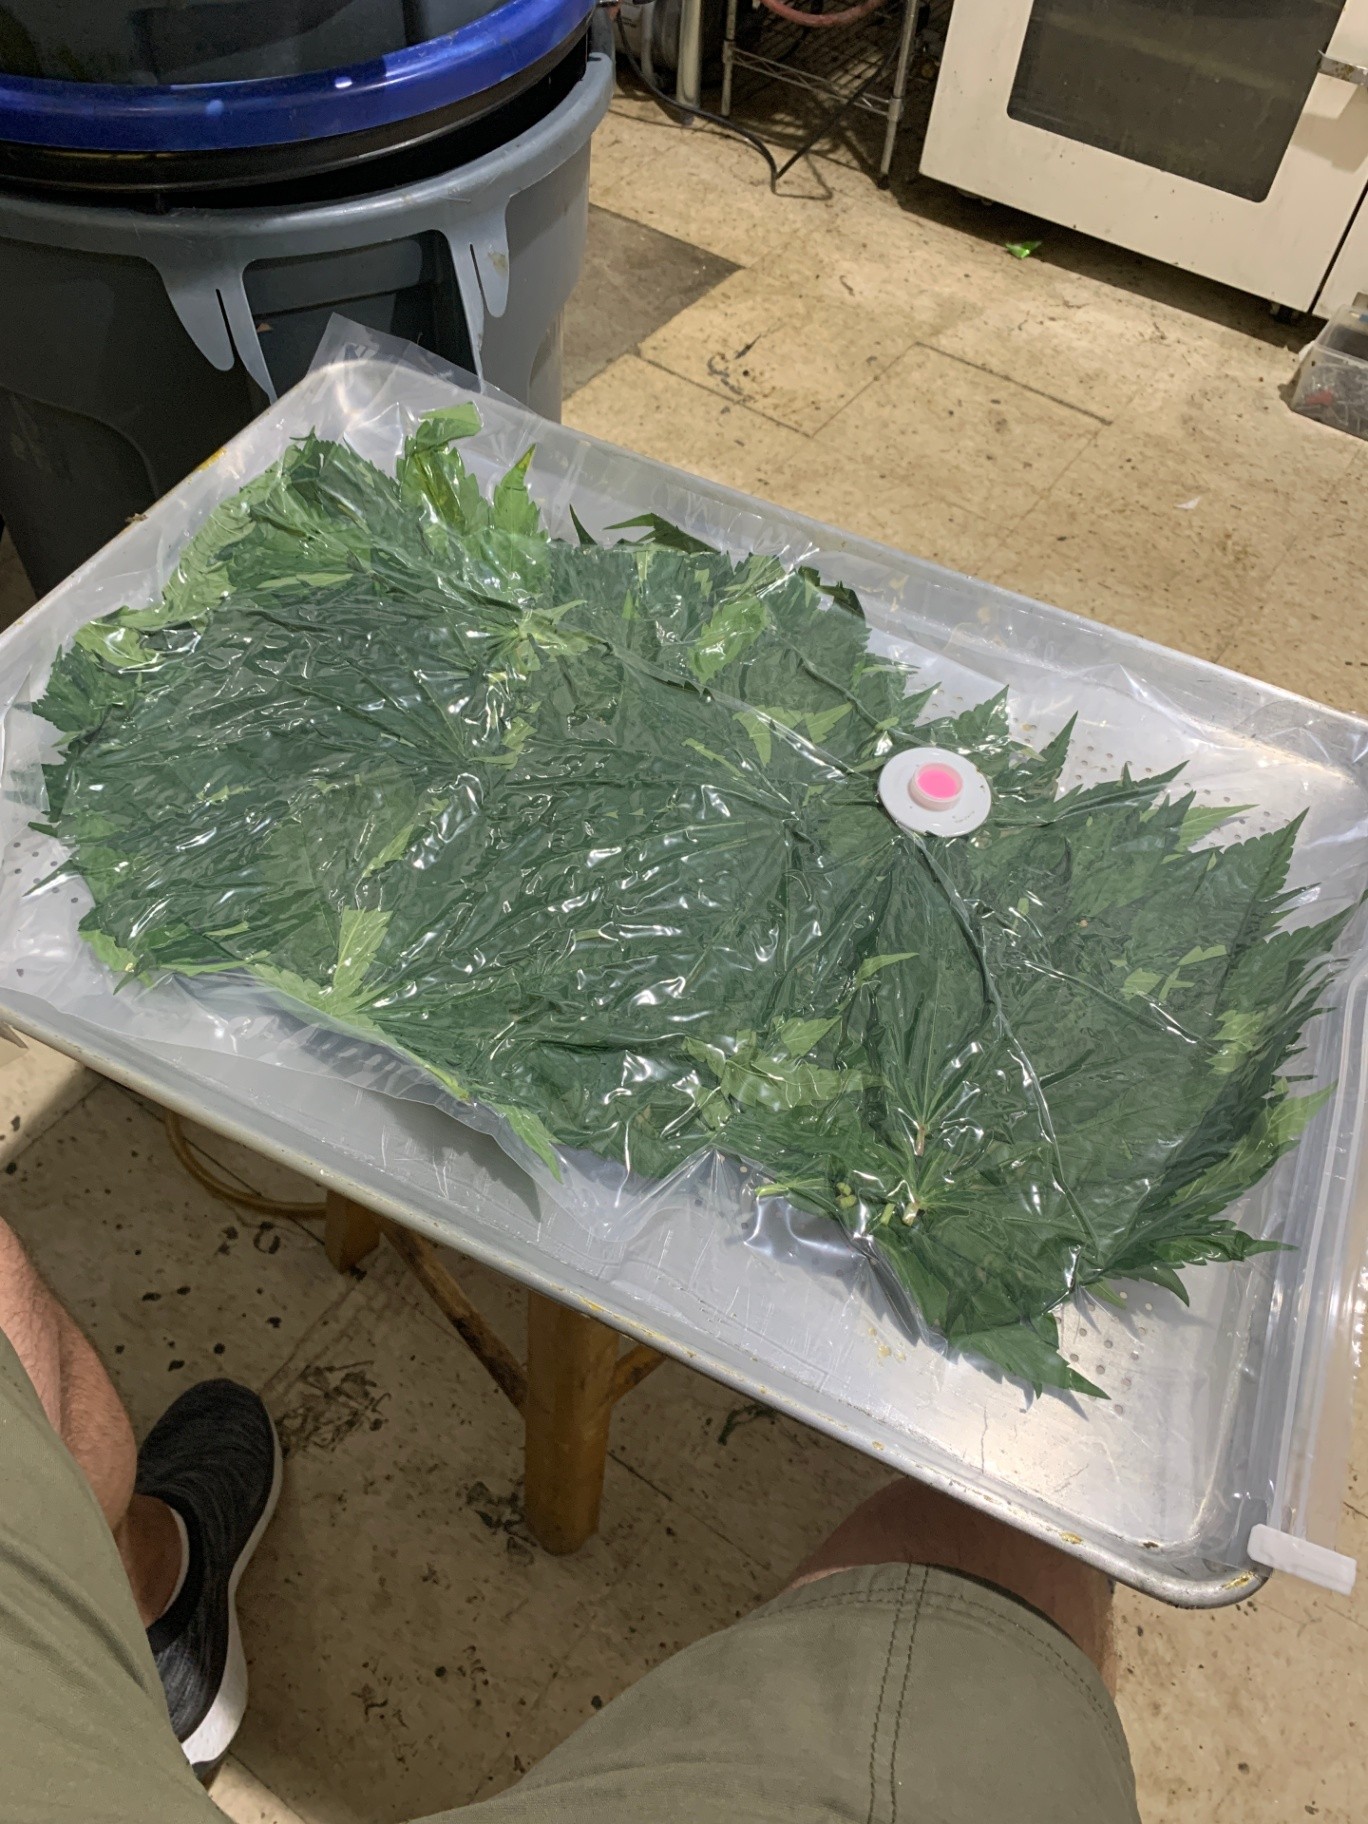
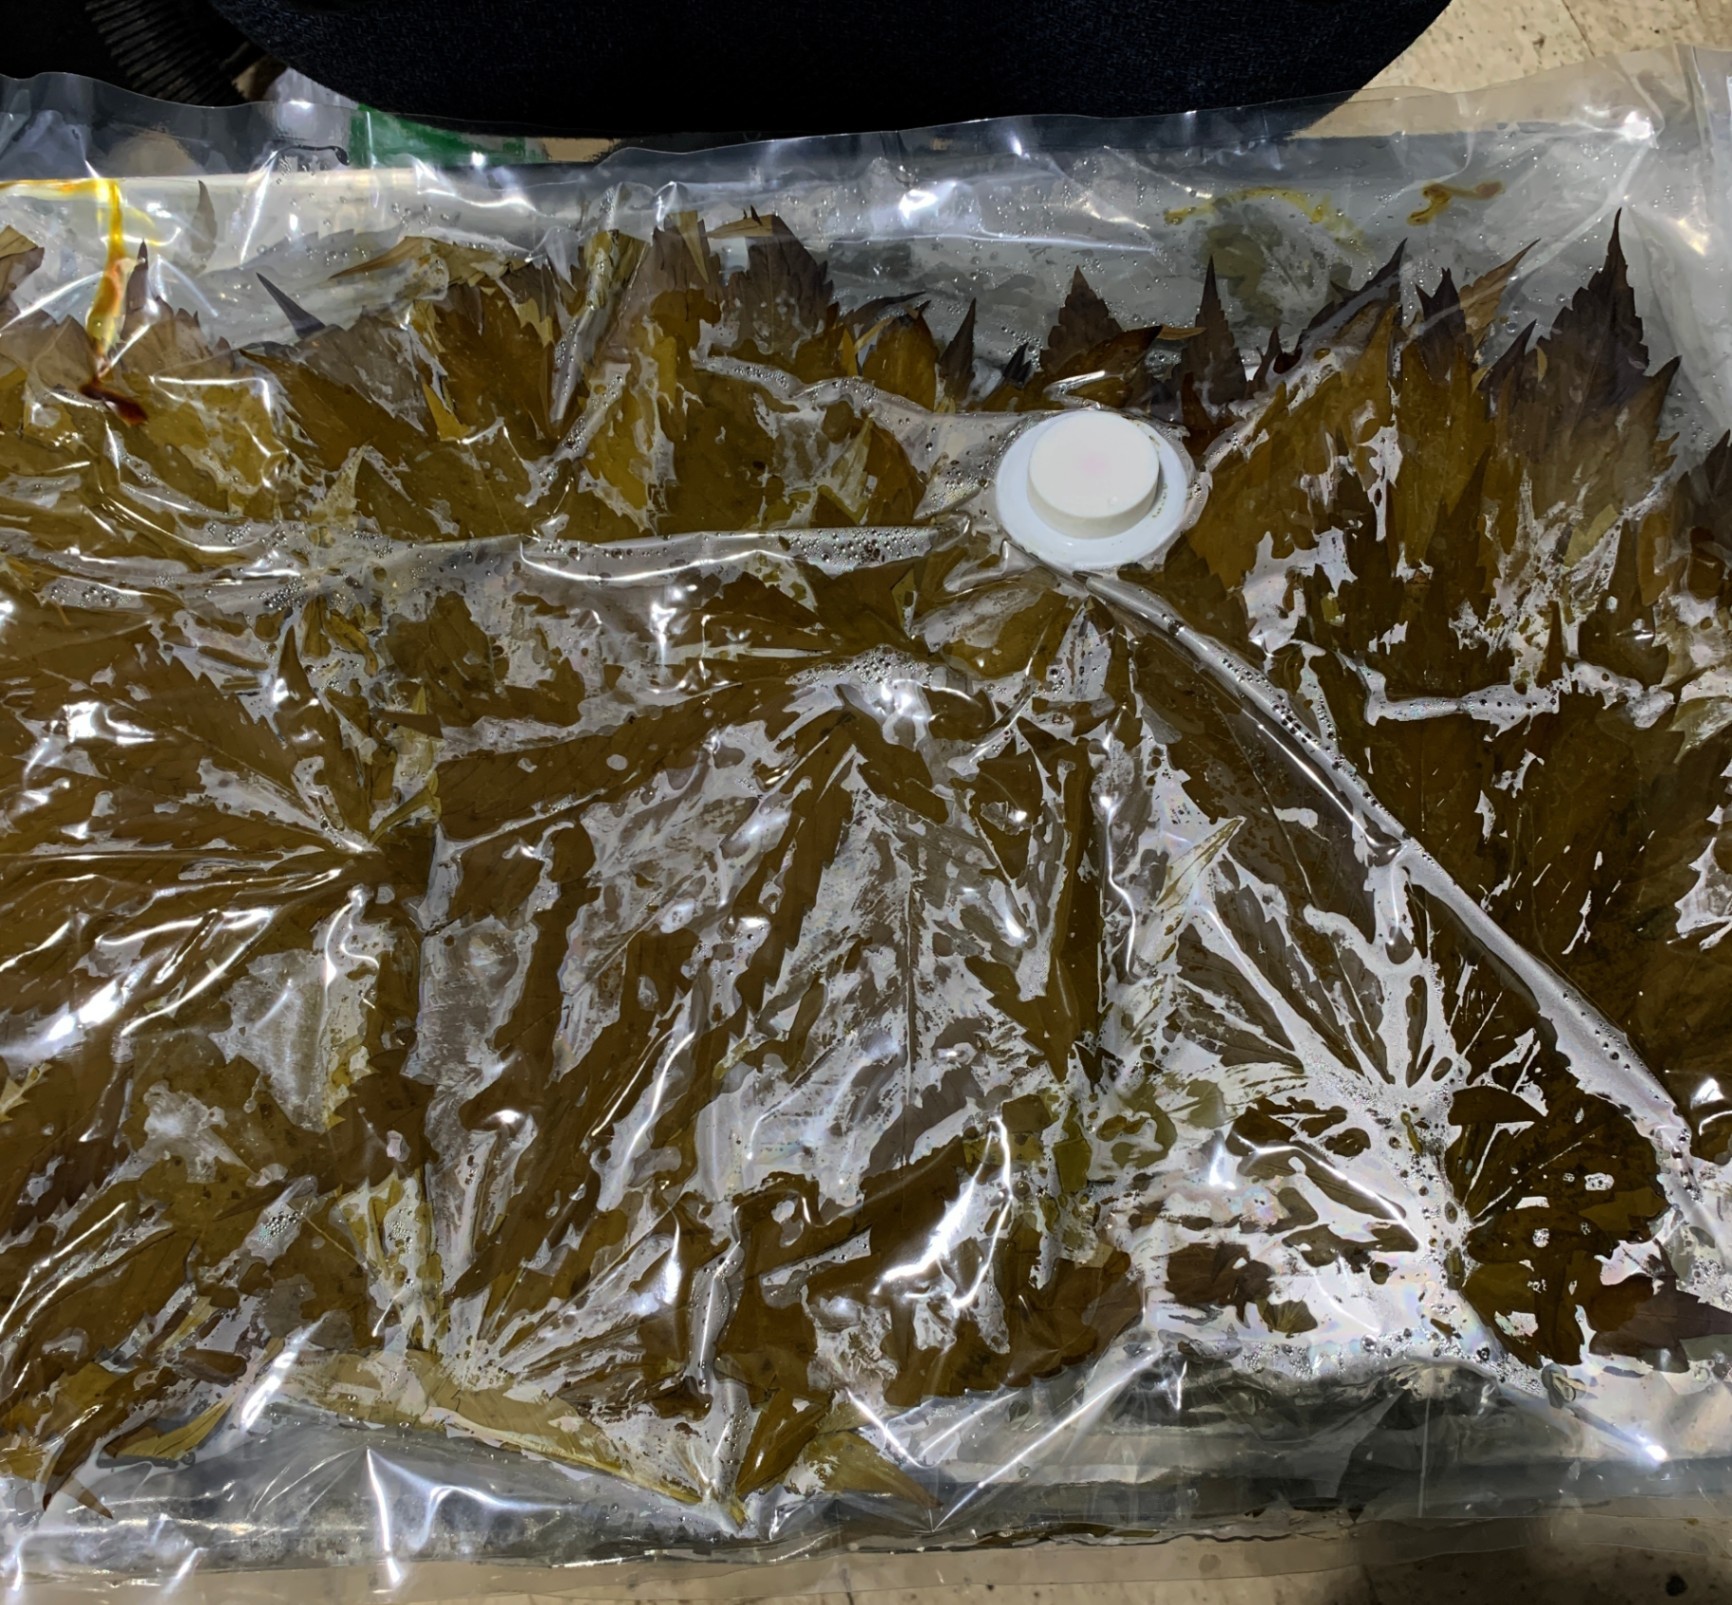
Place the bags into an oven at 170F, for 7-10 days.
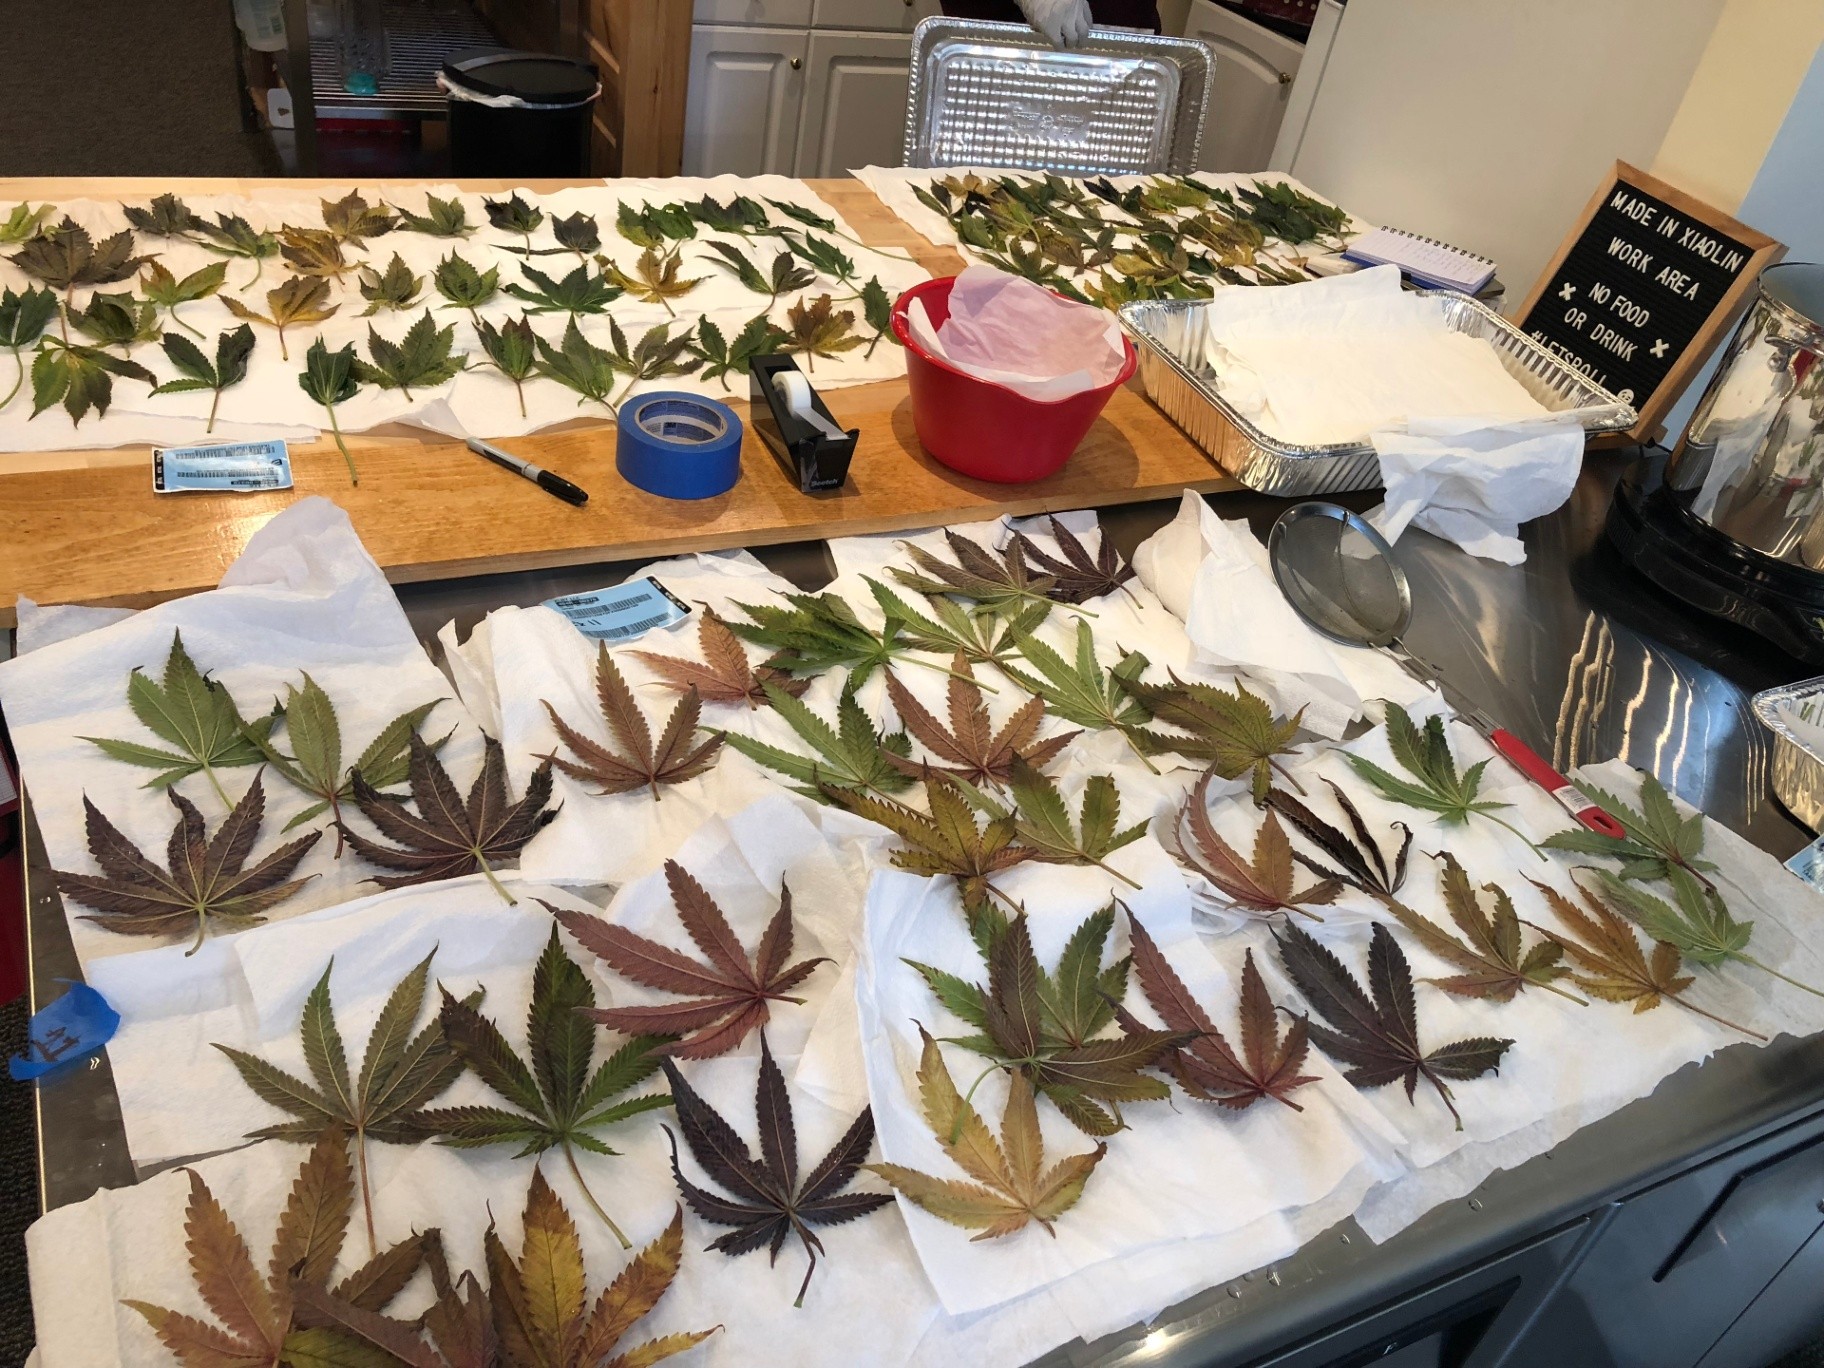
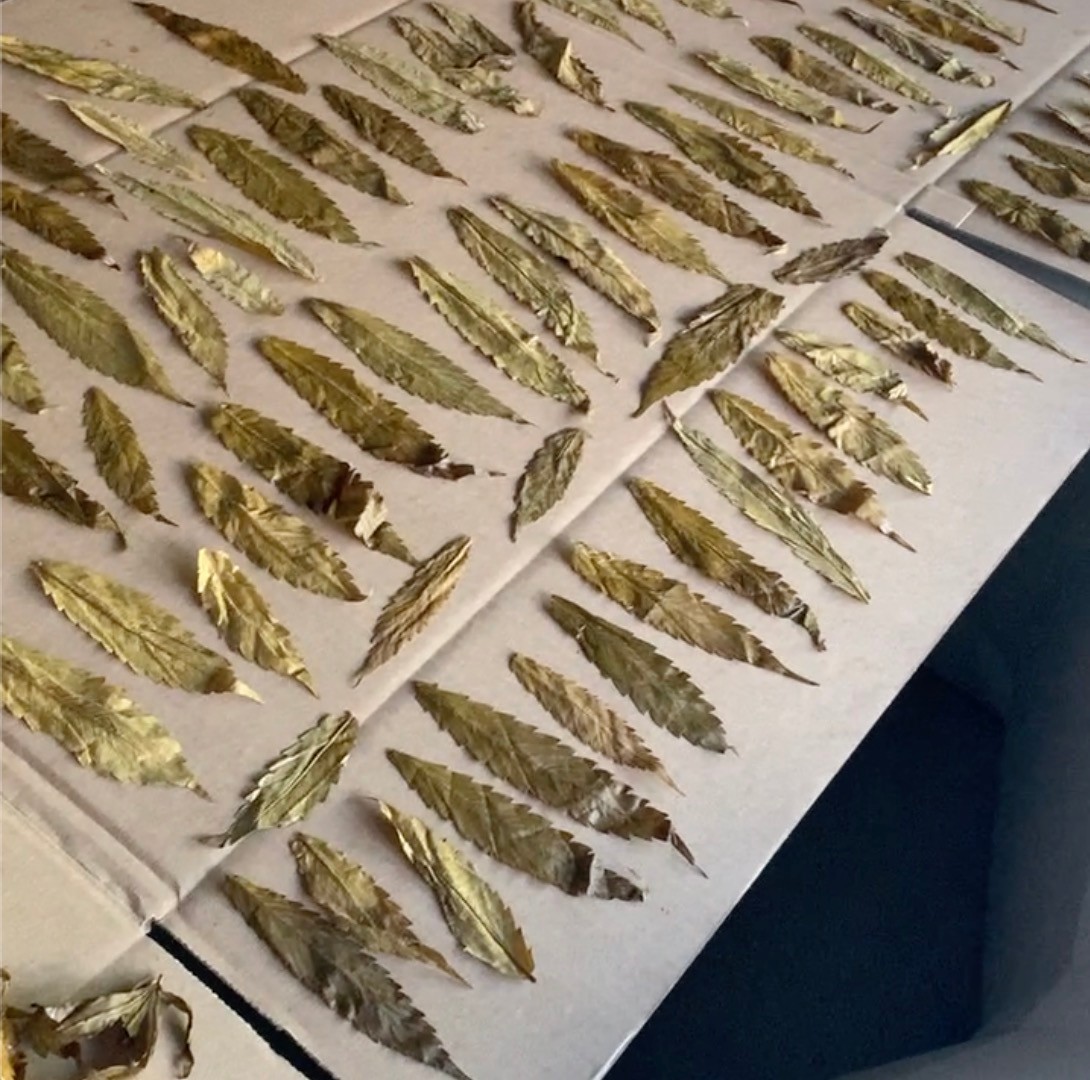
The longer, the browner your leaves will become. At 7 days they are a light olive color, kind of like spinach.
At 10 days they start to become darker.
This is where commercial power costs really save the day.
Here is a batch @ 7 days:
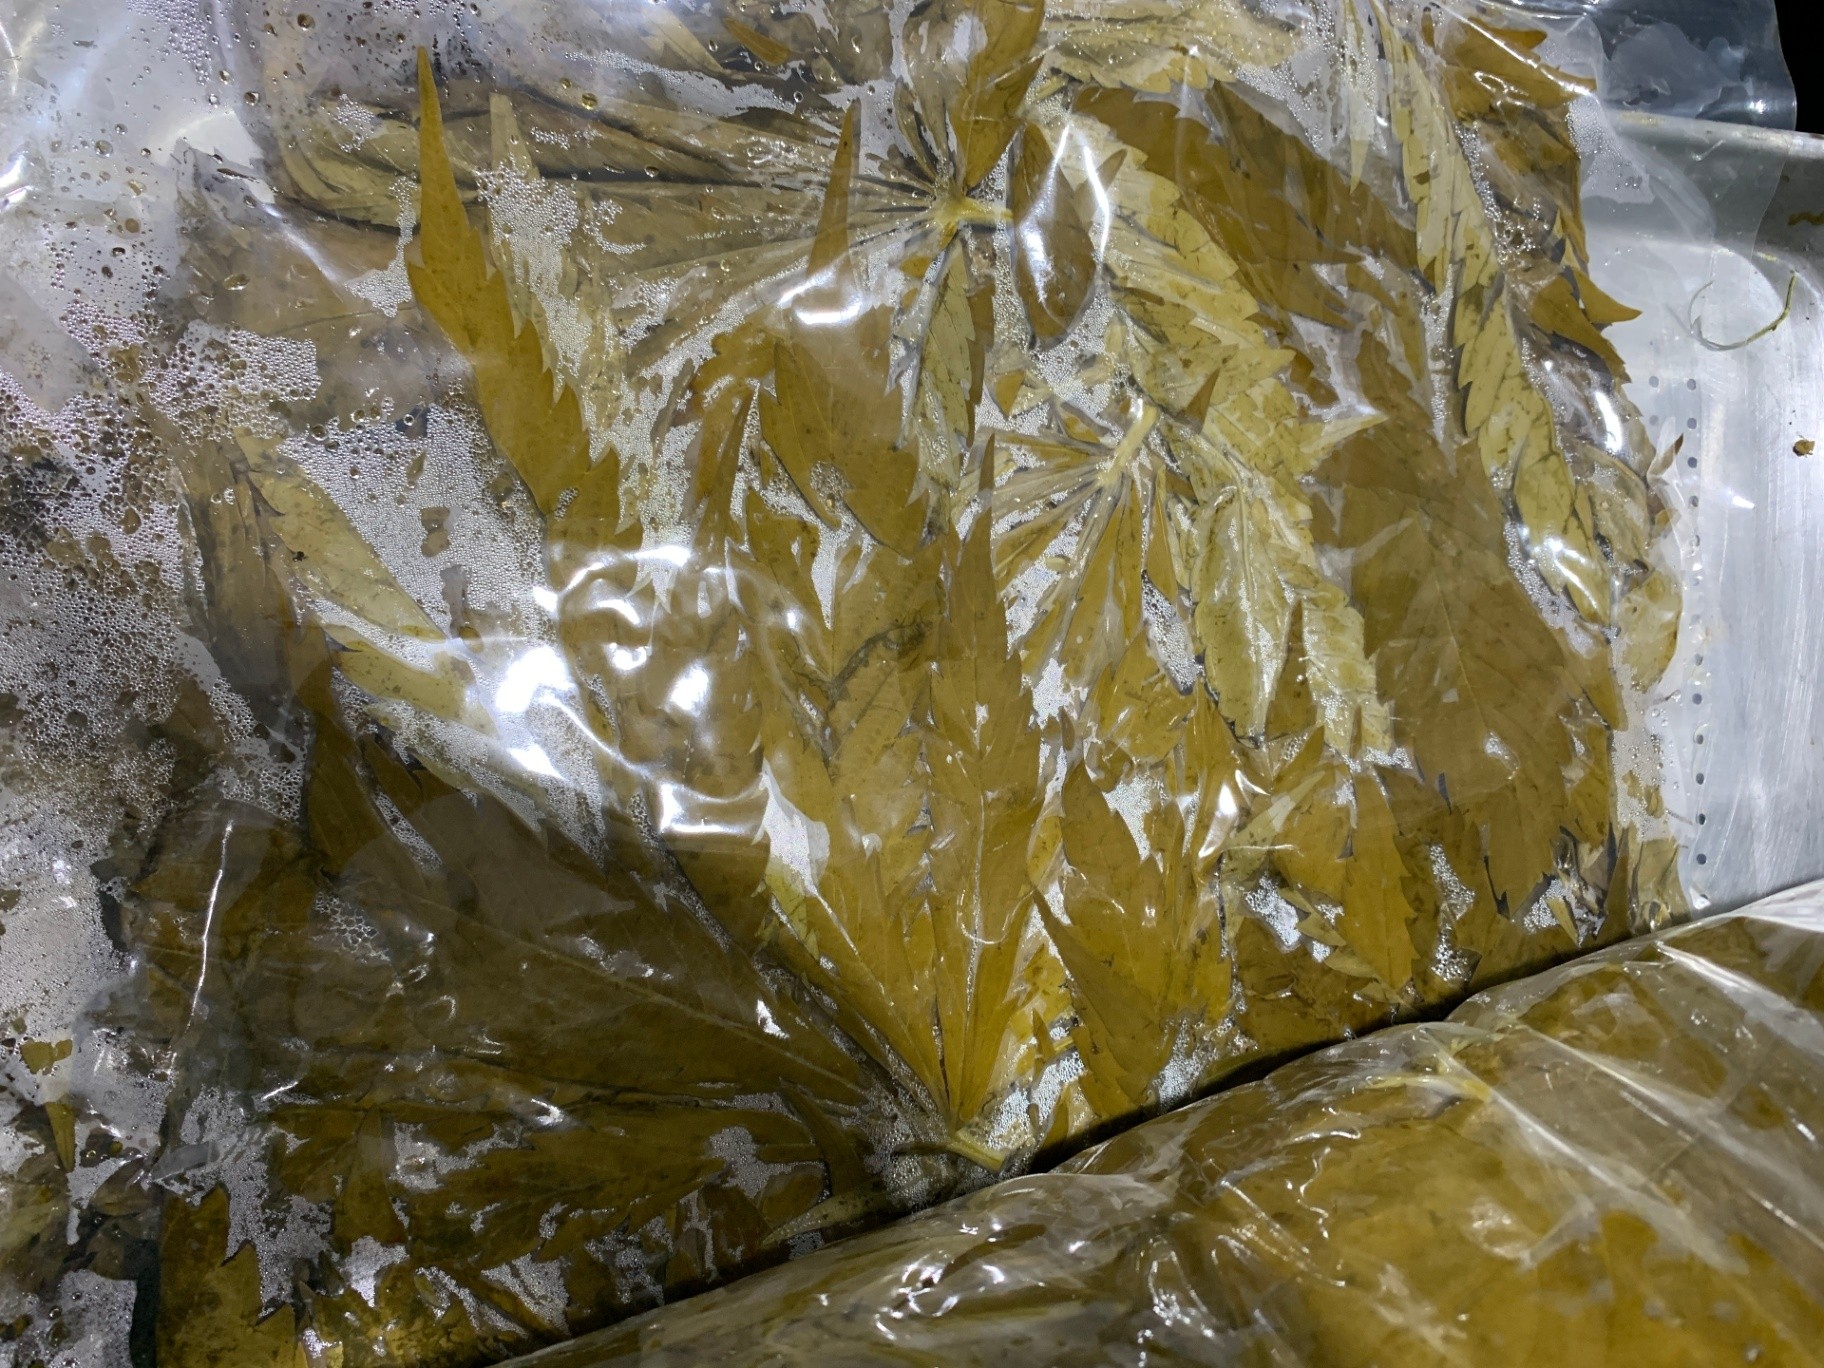
And here is a batch @ 10 days:
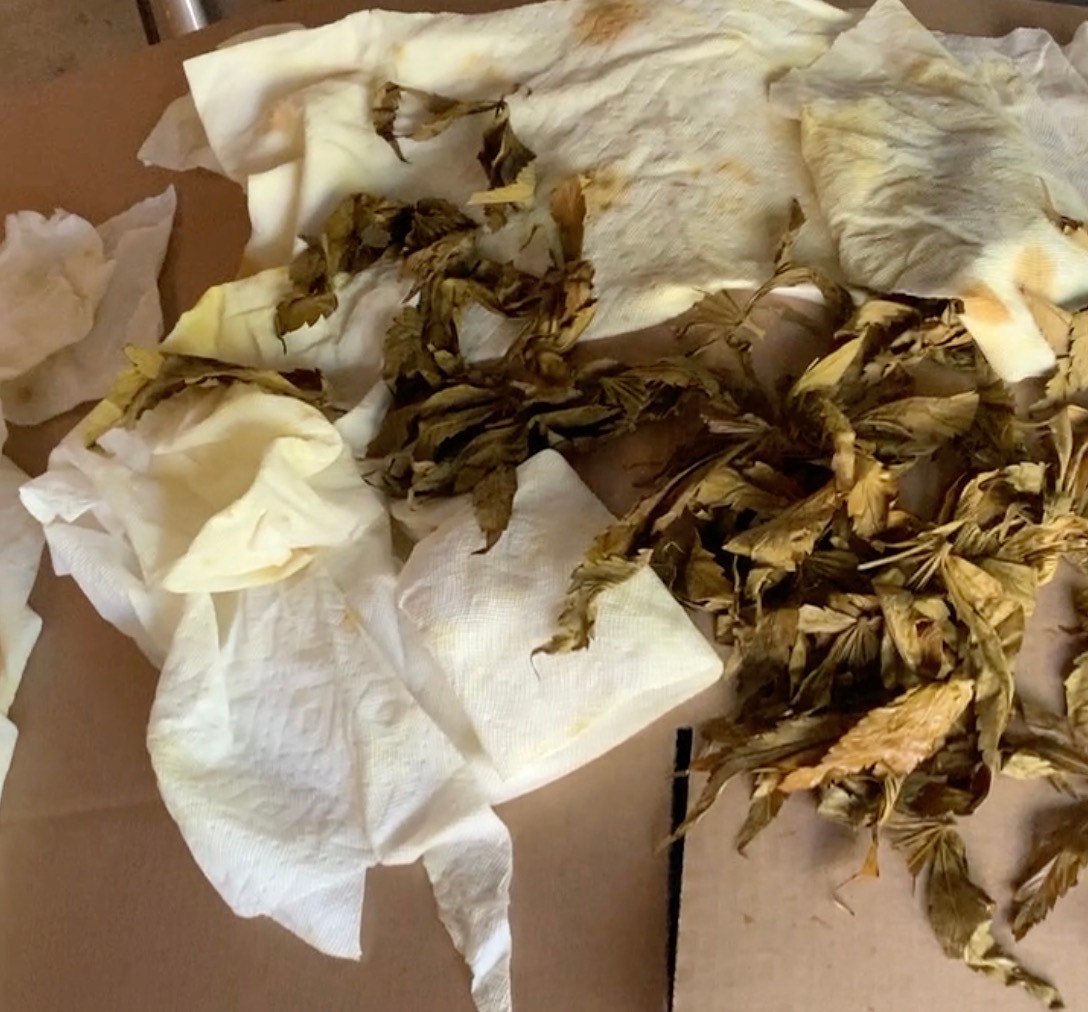
After this process is complete, you will need to take the leaves out of the bags and you will need to rinse the funky soup off of them.
This is where you are going to wash them, AGAIN, using distilled water.
Dunk them and swish them around in the water and watch the water turn a nasty shade of cloudy puke green.
This part of the process should not be neglected.
They spent the last 10 days stewing in their own juices, and you will now be washing away all the stuff that was broken down, clearing out the cells by osmosis, this will replace the water volume remaining in the leaves with fresh distilled water.
Then you will need to take them out of the water, and painstakingly separate all the leaves and dry them out.
You don't dry them all the way, just enough so that they are not sopping wet.
They have the consistency of spinach at this stage, so I cannot stress this enough - this is the most tedious and labor intensive part of the entire cannagar making process.
The end result of all this will be light olive/brown/tan leaves that have a nice un-intrusive smooth quality to the smoke, which takes away all the harshness and green flavor and leaves behind a wrapper that does not detract from the flavor of your flower and concentrates.
At this point you have two options:
Use The Leaves Immediately
You can use them right now while they are the most pliable and easy to work with, letting them dry on your cannagar bodies. This is my preferred option for commercial processes now. This is purely because the leaves set shape nicely, and its easier to make a nice rounded EndCap with leaves in this state.
However, this also means you have to time your process just right so that your rotation / labor matches up with the leaves being finished. This is sometimes a complicated thing with scheduling, so sometimes people will opt for permanent storage instead.
Long Term Storage
Long term storage is really simple, but perhaps not scaled properly yet...
How do we store them permanently you may ask?
In books. Simple as that.
Yes, you read that right. Ever stuck a leaf into a book and come back to it years later to find it perfectly in tact, just completely dried out?
Thats the idea. You can store in books, and then rehydrate them later using different humidity tricks.
But they will store in books, pretty much indefinitely.
Pros : They can be stored indefinitely, and will last longer than your business, probably.
Cons : They can be re-hydrated but this is limited. They will be more brittle and a little harder to work with, and they do not re-shape to form end-caps very well after coming out of permanent storage. Usually these leaves work best with tips. They can curl around a flower body and set shape, but they don't do well with folding around the the rounded end of a RoundCap, or a Torpedo, STP, or Cannon Barrel.
The Final Result:
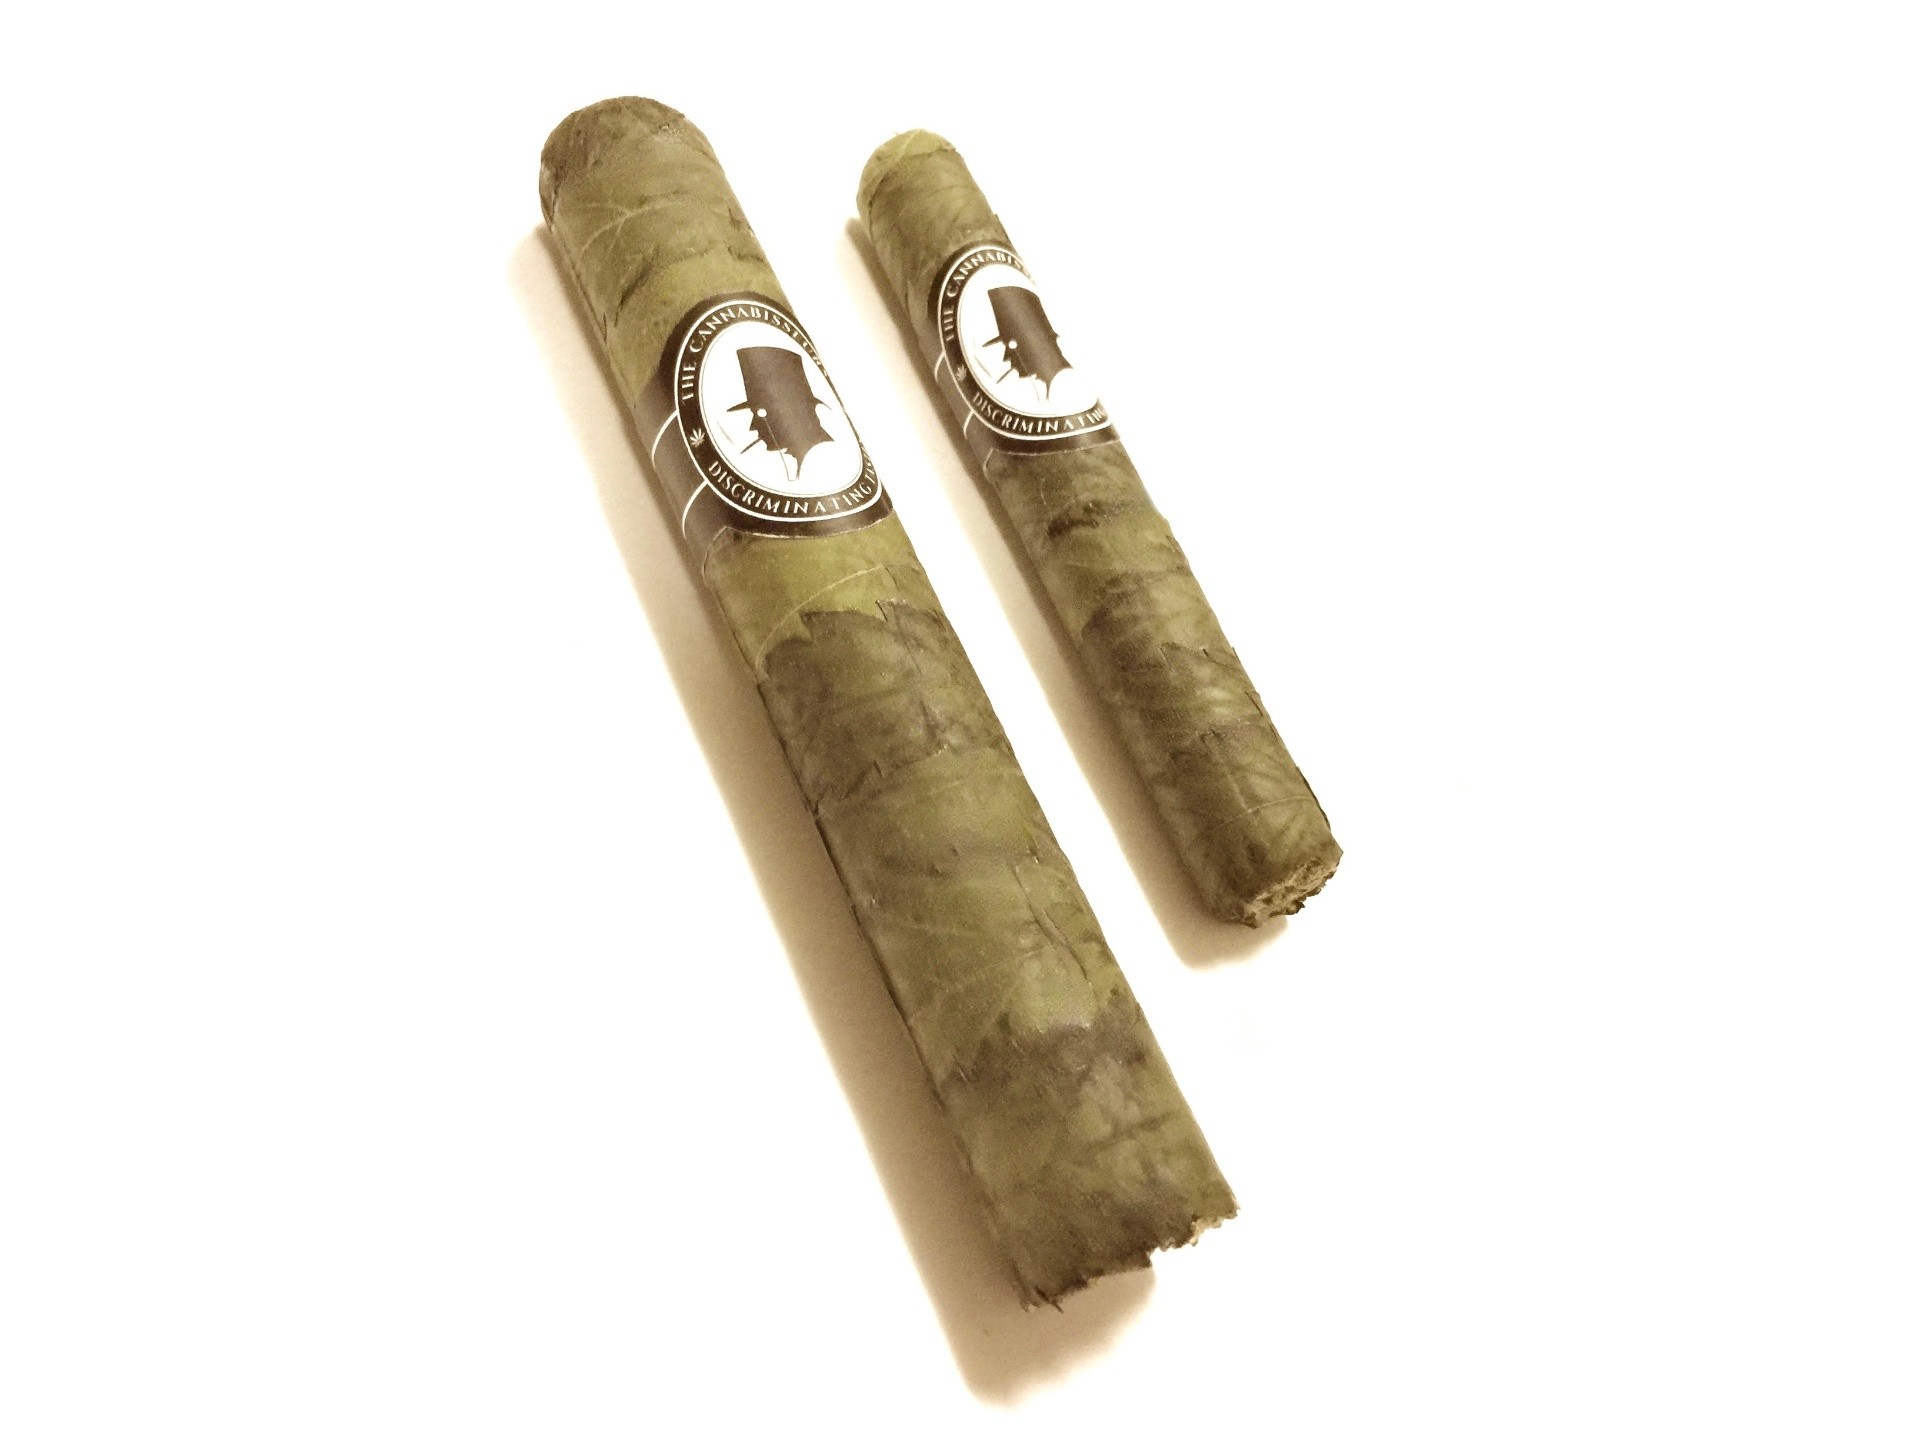
They may not be the bright lush green leaves that people are accustomed to seeing in in promos and in magazines popularizing various cannagar makers.
But I promise, this is the way of the future. Why re-invent the wheel? Big Tobacco already solved the problem.
Simple heat and humidity.
If you are a terpene head like me, this will make your product shine like a diamond.
I have personally tried over 50 different cannagars from different producers over the years of consulting and helping people launch cannagar lines, and so far the best tasting leaves are these denatured heat cured leaves.
Best tasting = least intrusive, smooth, does not impact the flavor of the flower, and does not detract from it.
Business Address
Cascadia 3D
758 Fowler St
Raymond WA, WA 98577
Payments Accepted:
Payments Powered by Stripe
