 An item was added to cart!


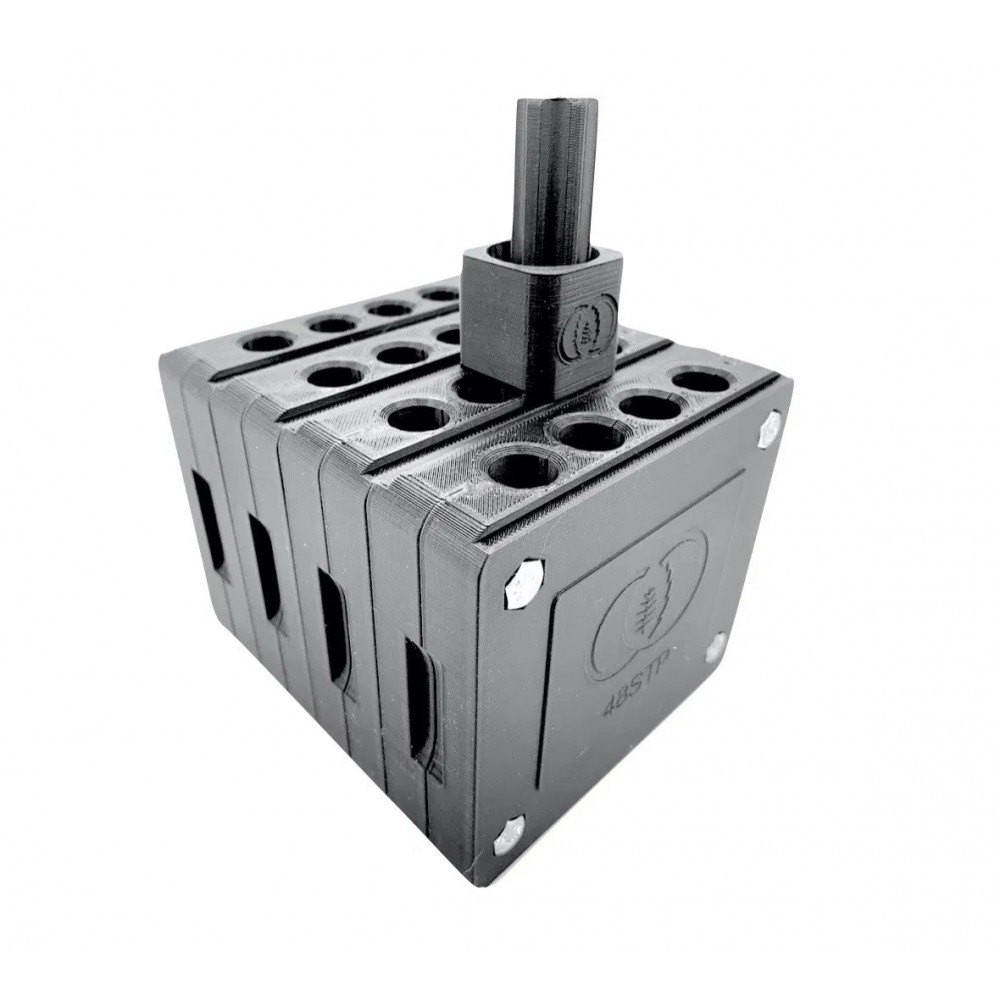
STACKABLE CANNAGAR MOLD PRODUCT GUIDE
Using the included bolts and nuts, secure your mold together and get it ready to pack
The flower loader funnel can help keep buds from falling all over your desk.
It is an optional accessory.
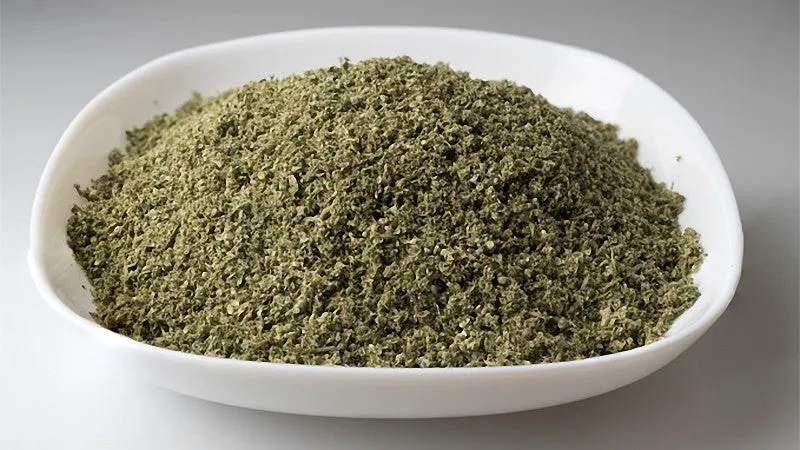
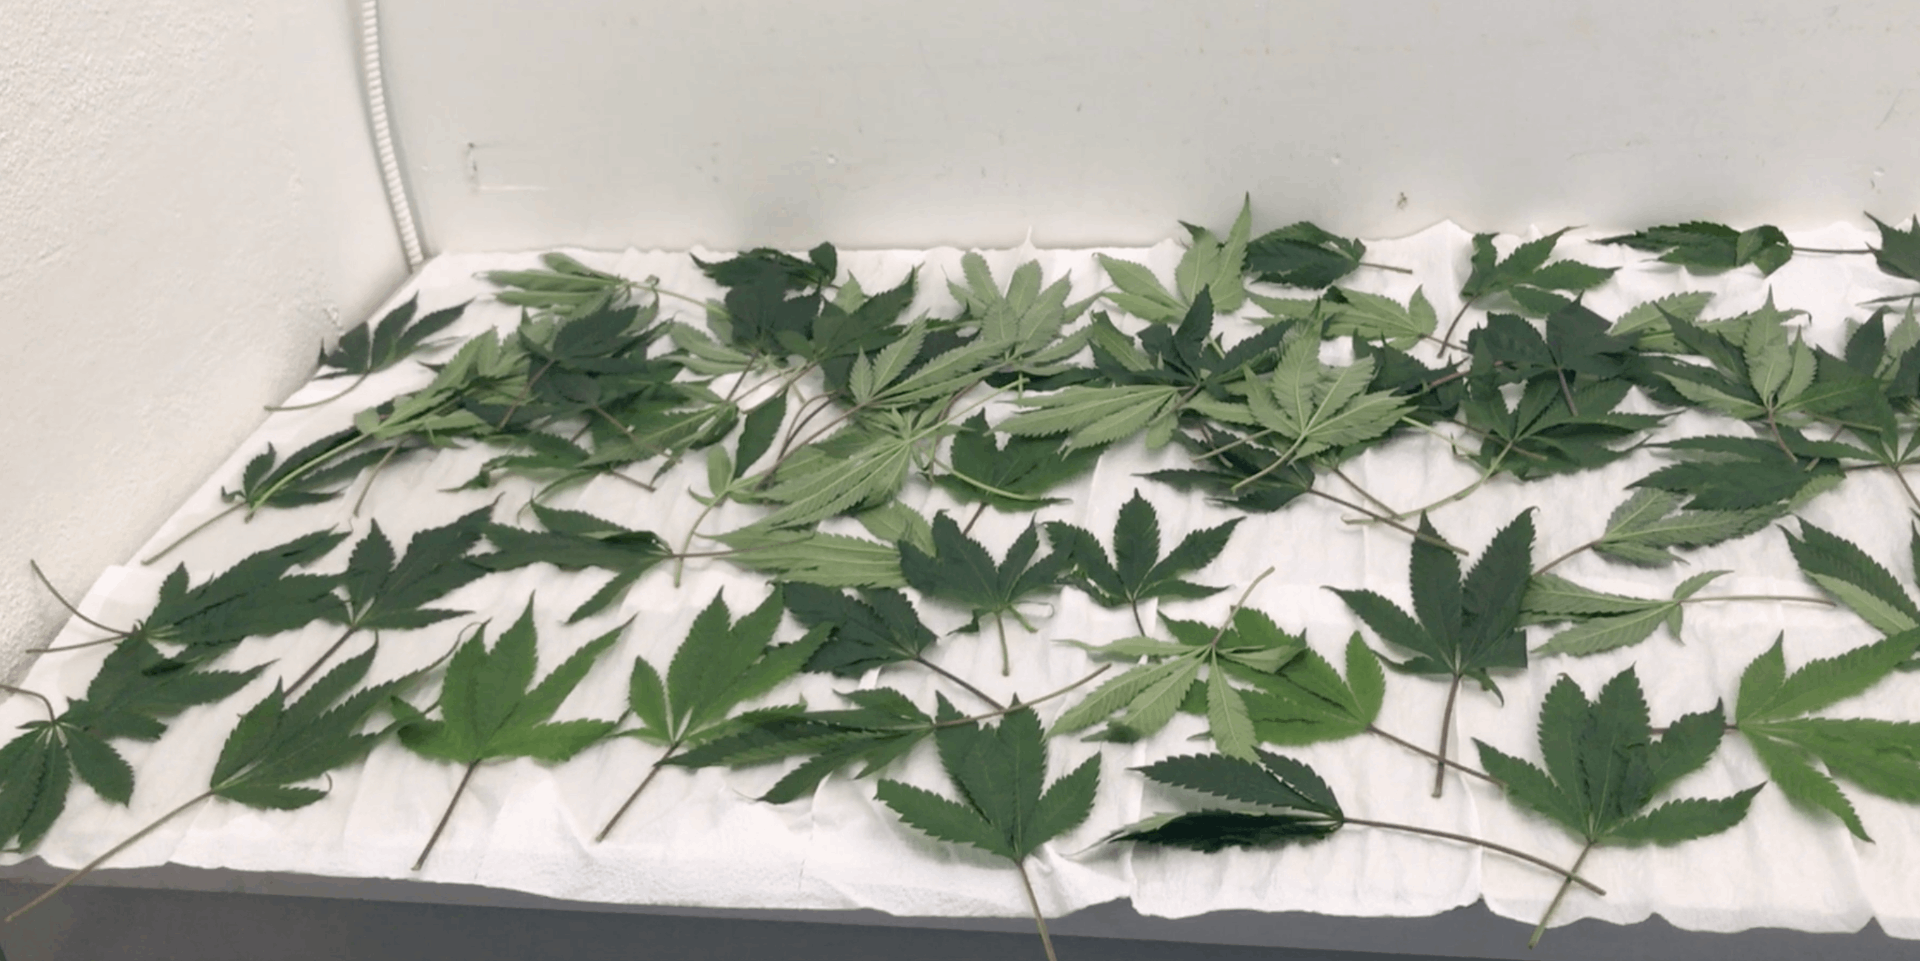
You first need to grind your flower into soft-easy-to-pack material,
OR
use smaller buds, de-stemming them as best you can.
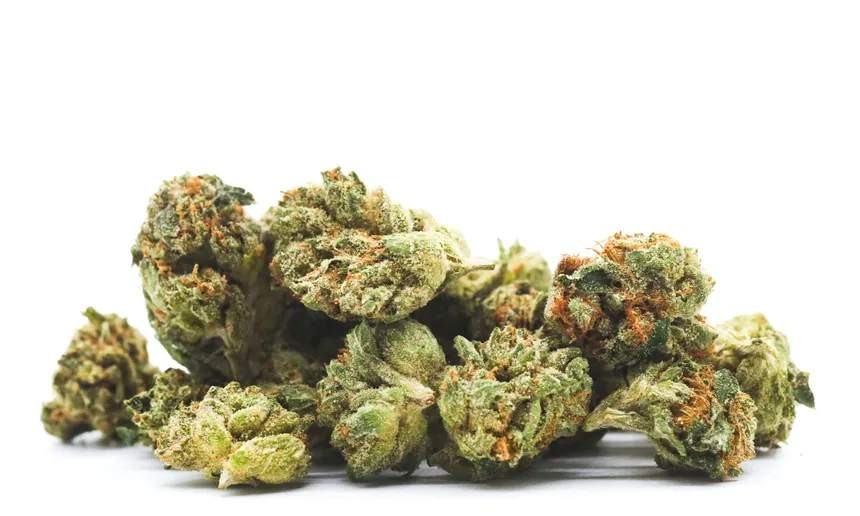
For best shelf life, little buds well de-stemmed, is the best option.
This is due to what happens when we grind cannabis.
This kickstarts a decomposition process when oils, lipids and waxes are released by crushing the buds. This is why joints left out in the open tend to go stale. Staleness is decomposition and the first thing to go are those precious terpenes!
There are ways to overcome this such as vacuum packing or nitrogen packing, but that is beyond this tutorial!
For most home and semi-pro cannagar makers, nitrogen packing is not feasible at home.
Next, once you have your tools ready and your flower prepped, you will need skewers or metal rods to create a smoke channel.
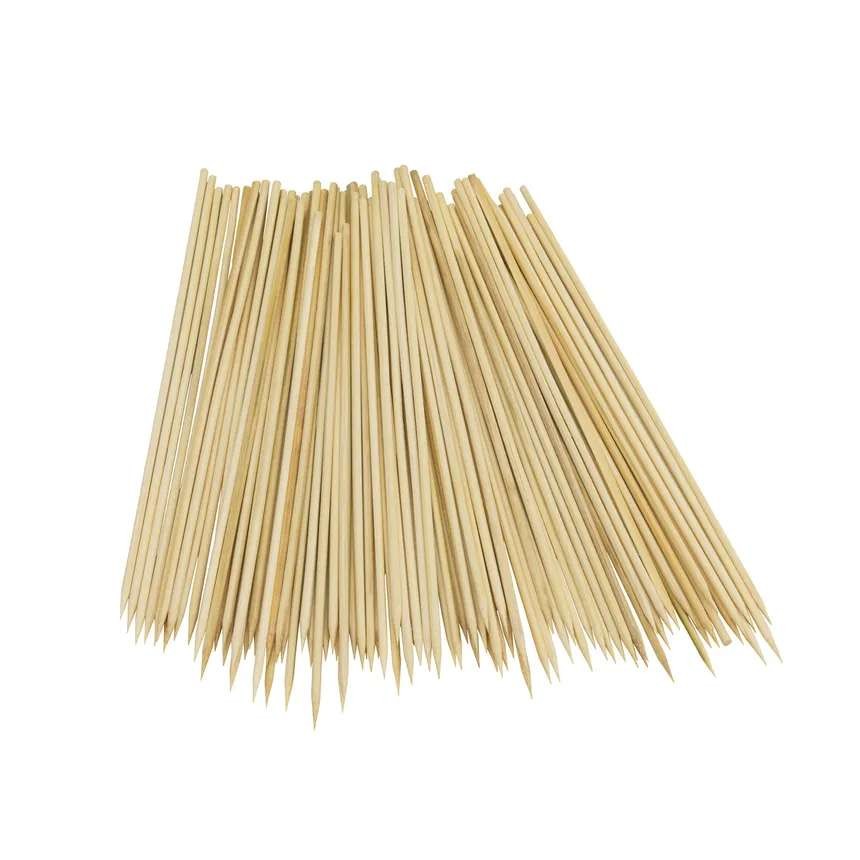
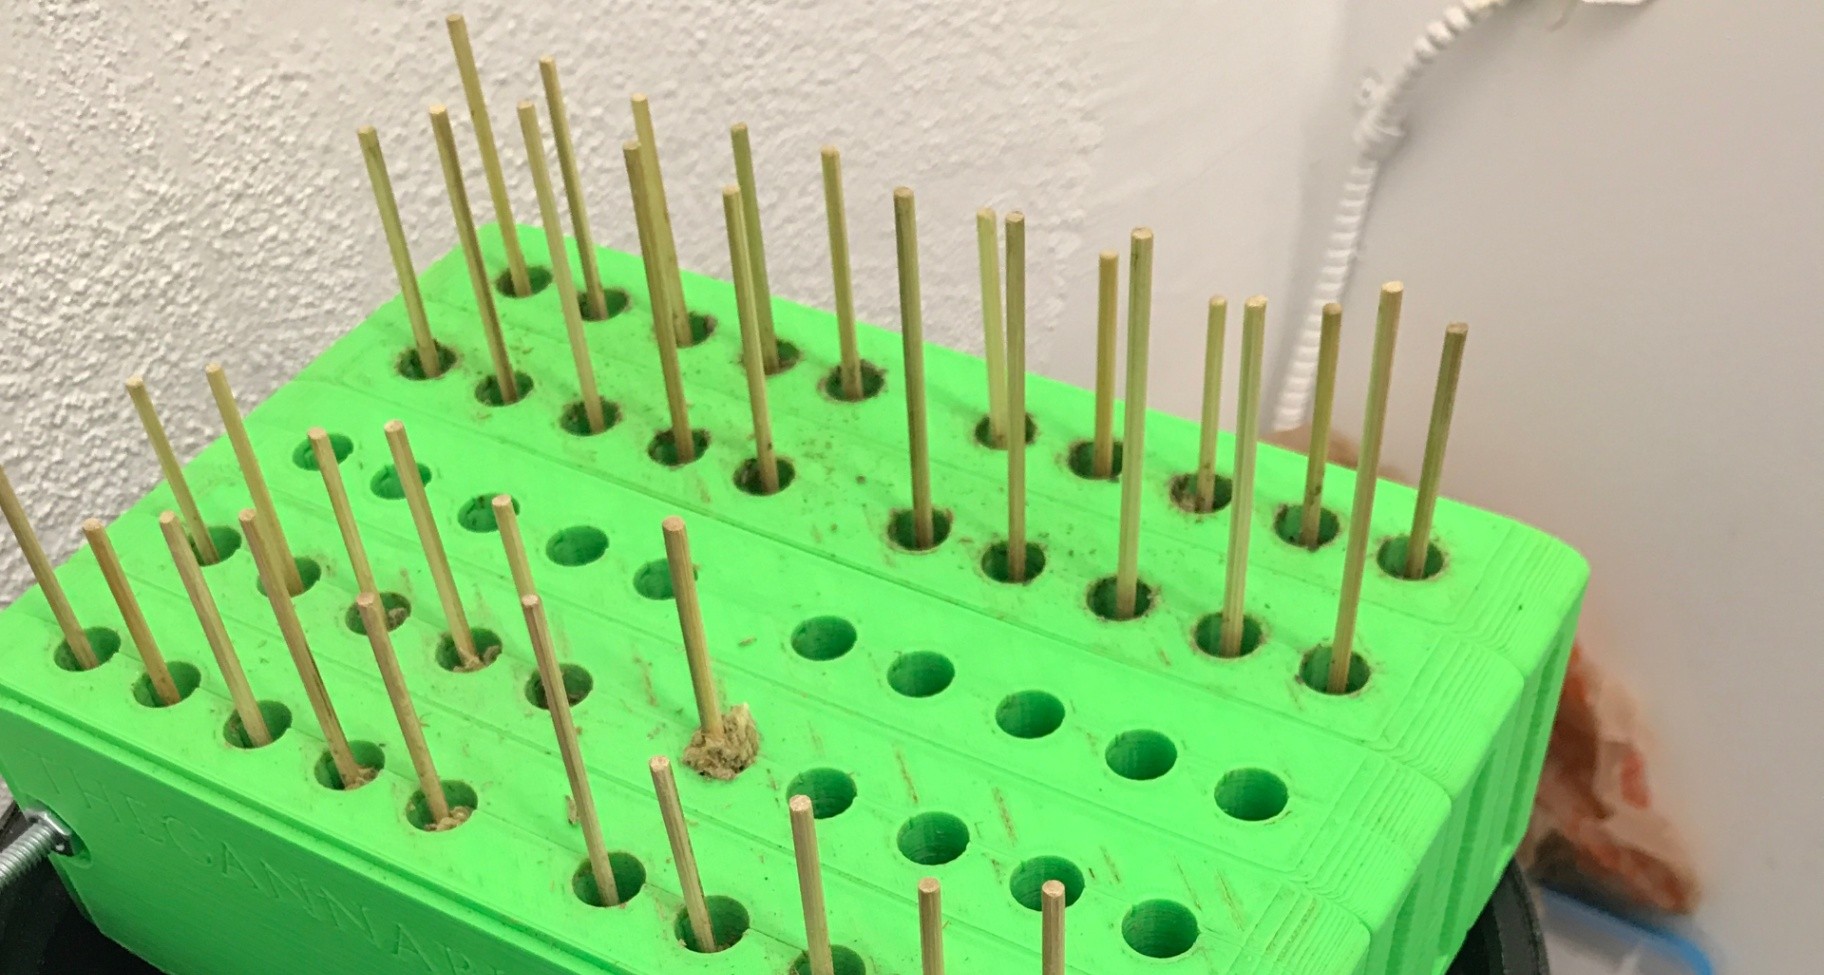
Place the skewers into the molds one skewer at a time, only need one in the mold that you are packing.
Don't place them all at the beginning, or your hand will have no space!
Drop your flower into the mold slot and use the included BudDriver to pack the buds into your mold.
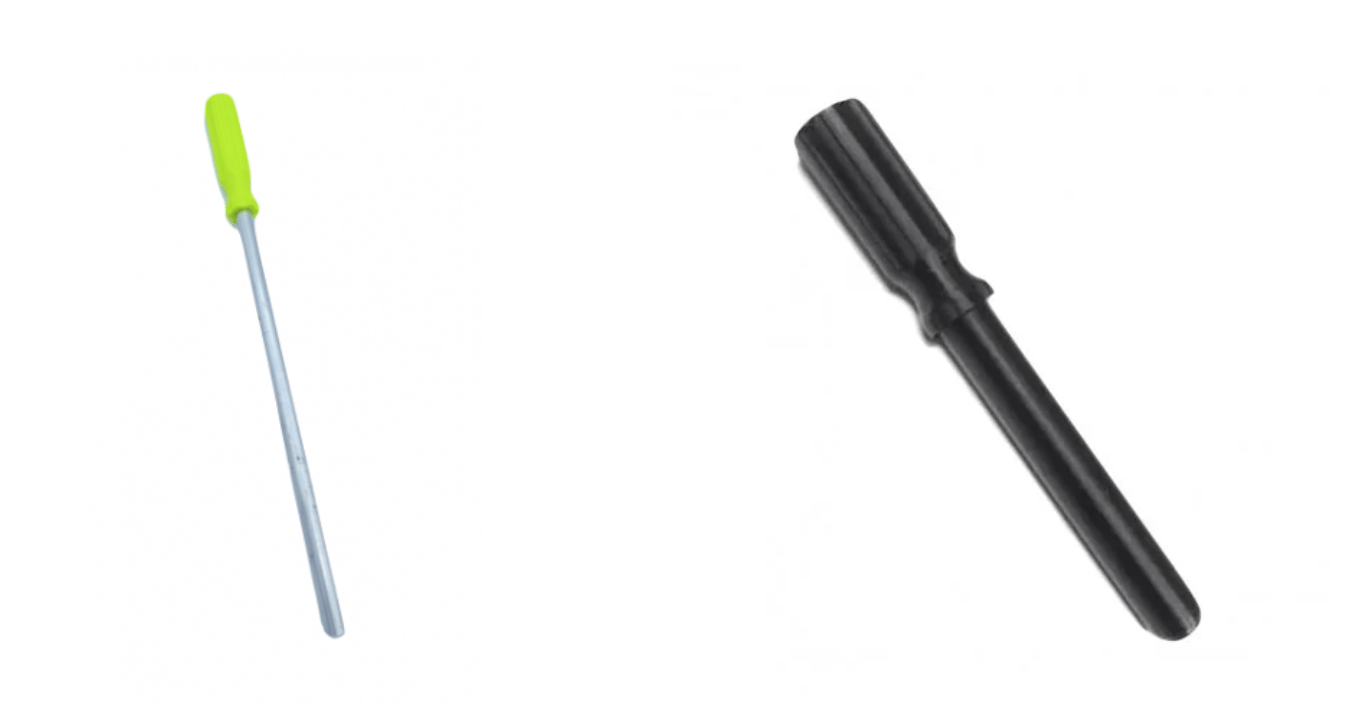
The BudDriver has a hole passing through it to allow the skewer to pass through while it packs the bud around the skewer.
Only pack a little at a time to avoid creating gaps in the flower body.
This is an art and takes a bit of practice.
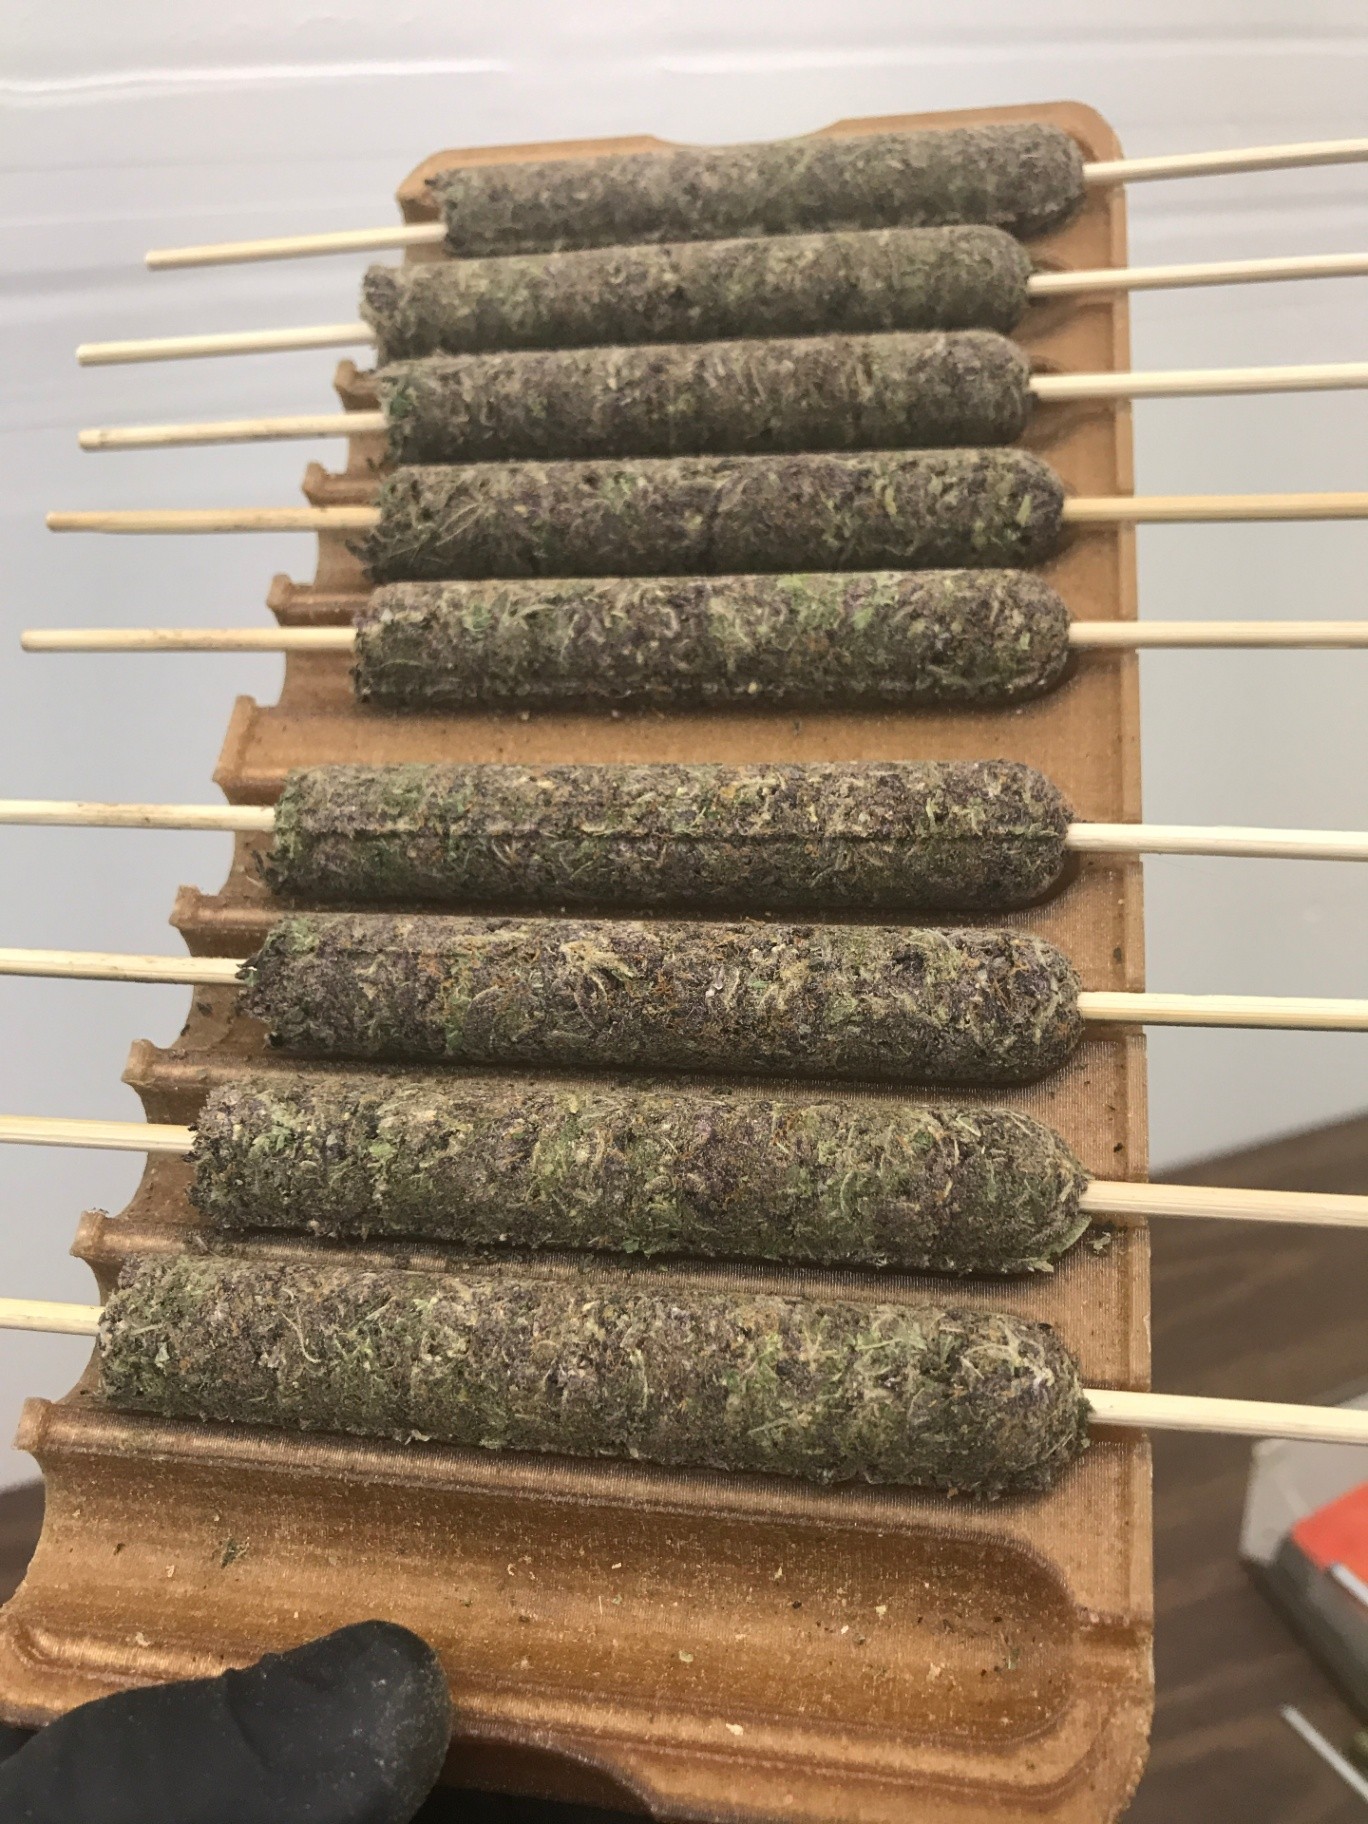
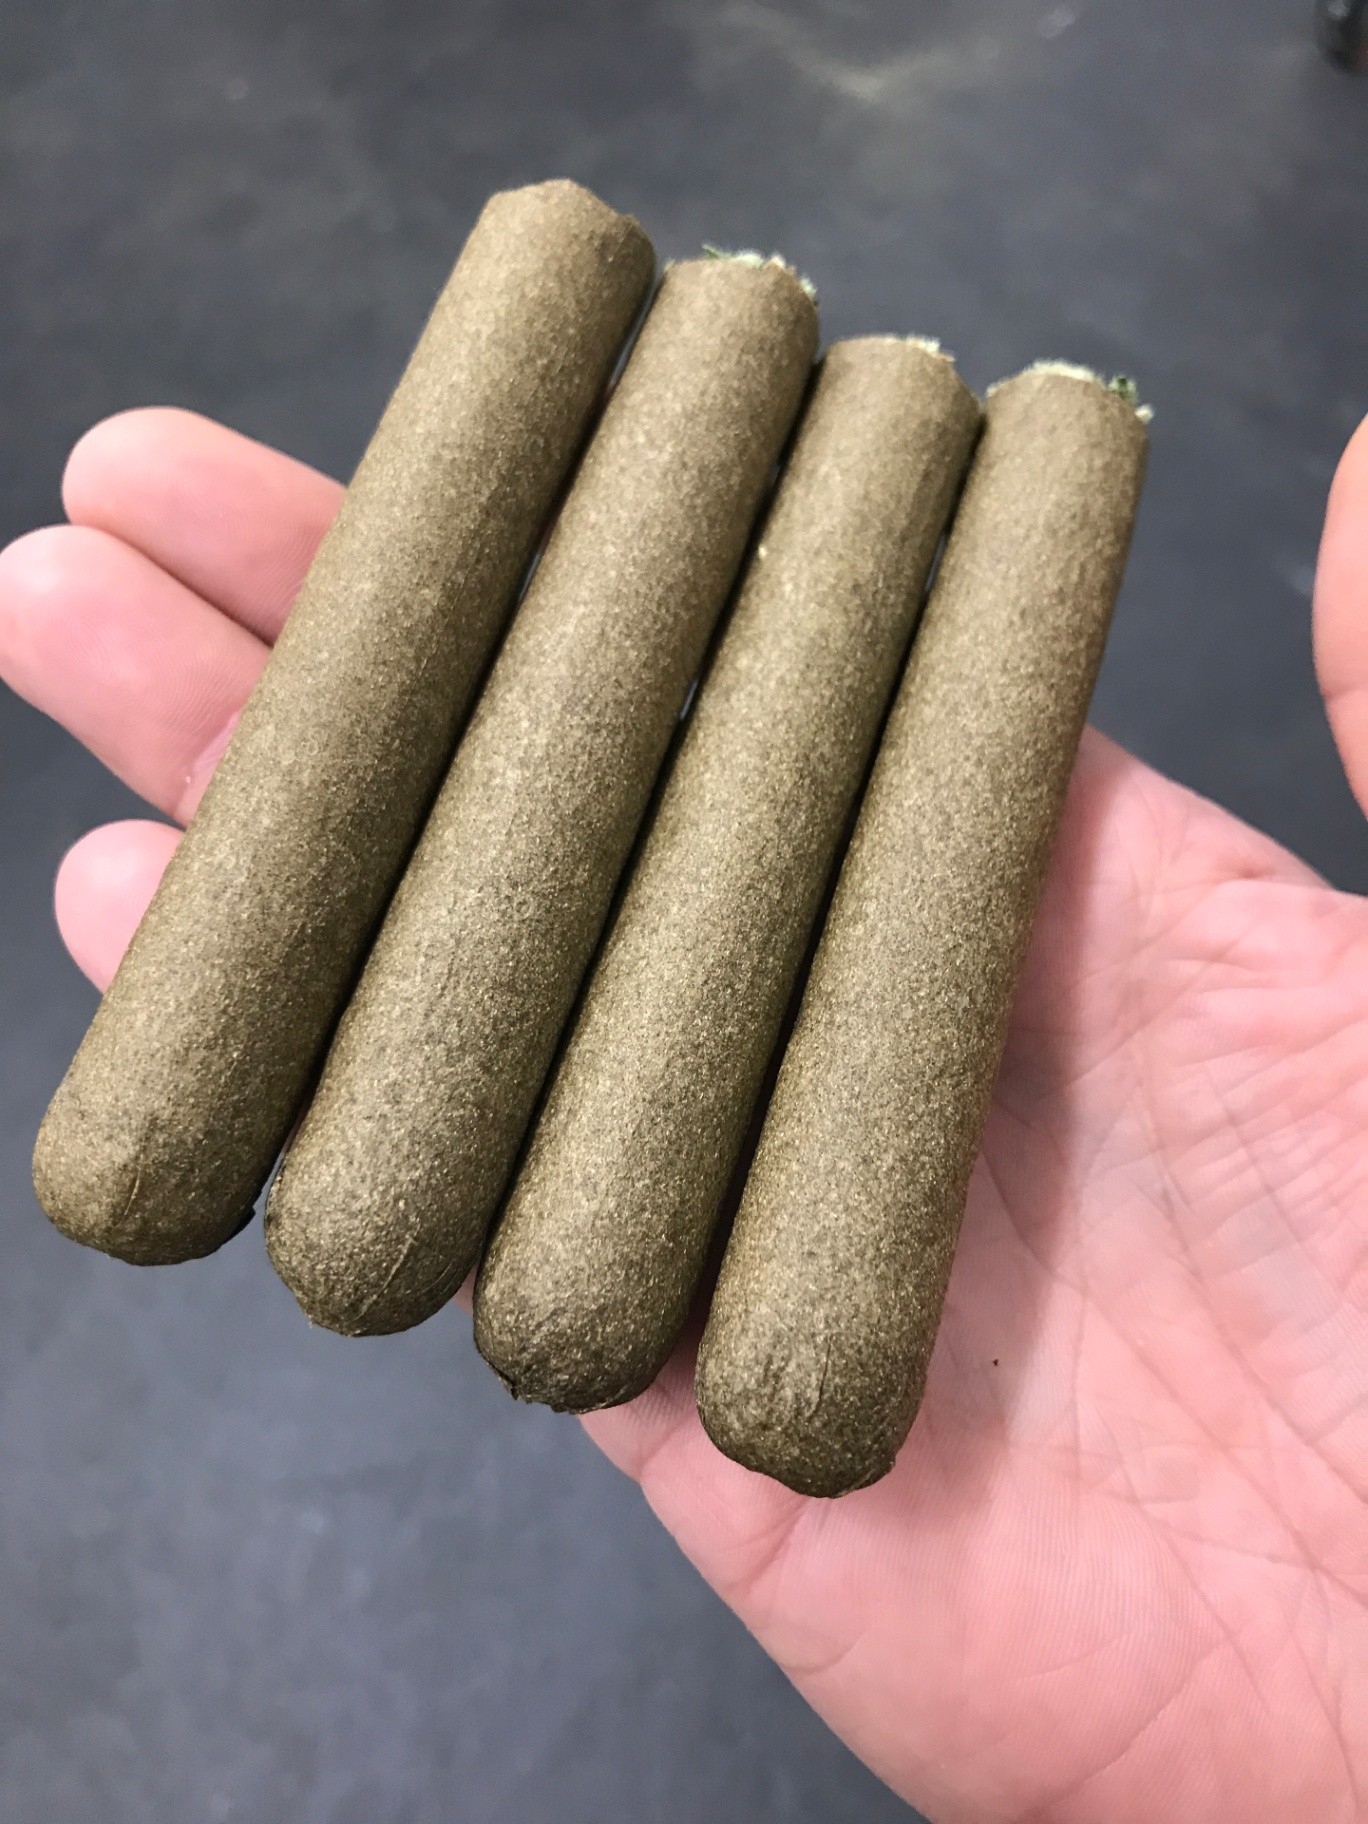
You can pack the mold all the way to the end, OR fill it only to the weight/length that you desire.
You need to leave the flower bodies to set shape overnight.
This will minimize stretching and swelling. It takes about 24 hours for most strains to set into stable shape.
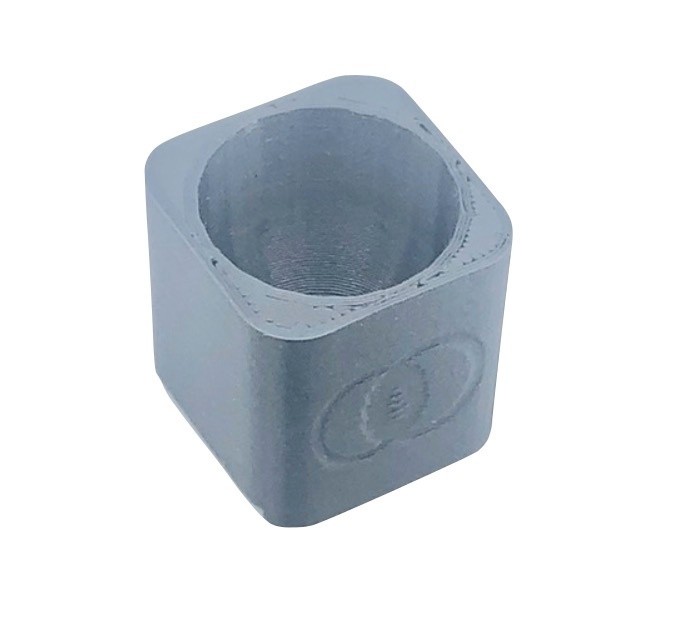
Then you will remove the bolts, and separate the molds. There are finger grip recesses on the sides of the molds that will allow you to separate the halves rather easily.
If you are having trouble removing flower cores, there are three things to remember :
* NEVER pull up on the skewers, this will rip flower cores faster than anything else.
* NEVER pull from either end, and this tends to cause the same.
* NEVER use any kind of prying tool, that will also cause damage
Instead, put all fingers along one side of the core, and pull towards you, this will pop them out 99% of the time no matter how sticky your buds are!
Check out the video below :
Simple leverage, easy peasy.
Next up, you need to decide what you are using to wrap, and how you are wrapping your cannagar.
Many people use blunt wraps or hemp wrapping paper, which can be applied with a little bit of water.
This wrapping process is somewhat like paper mache and I have a good video showing the process here:
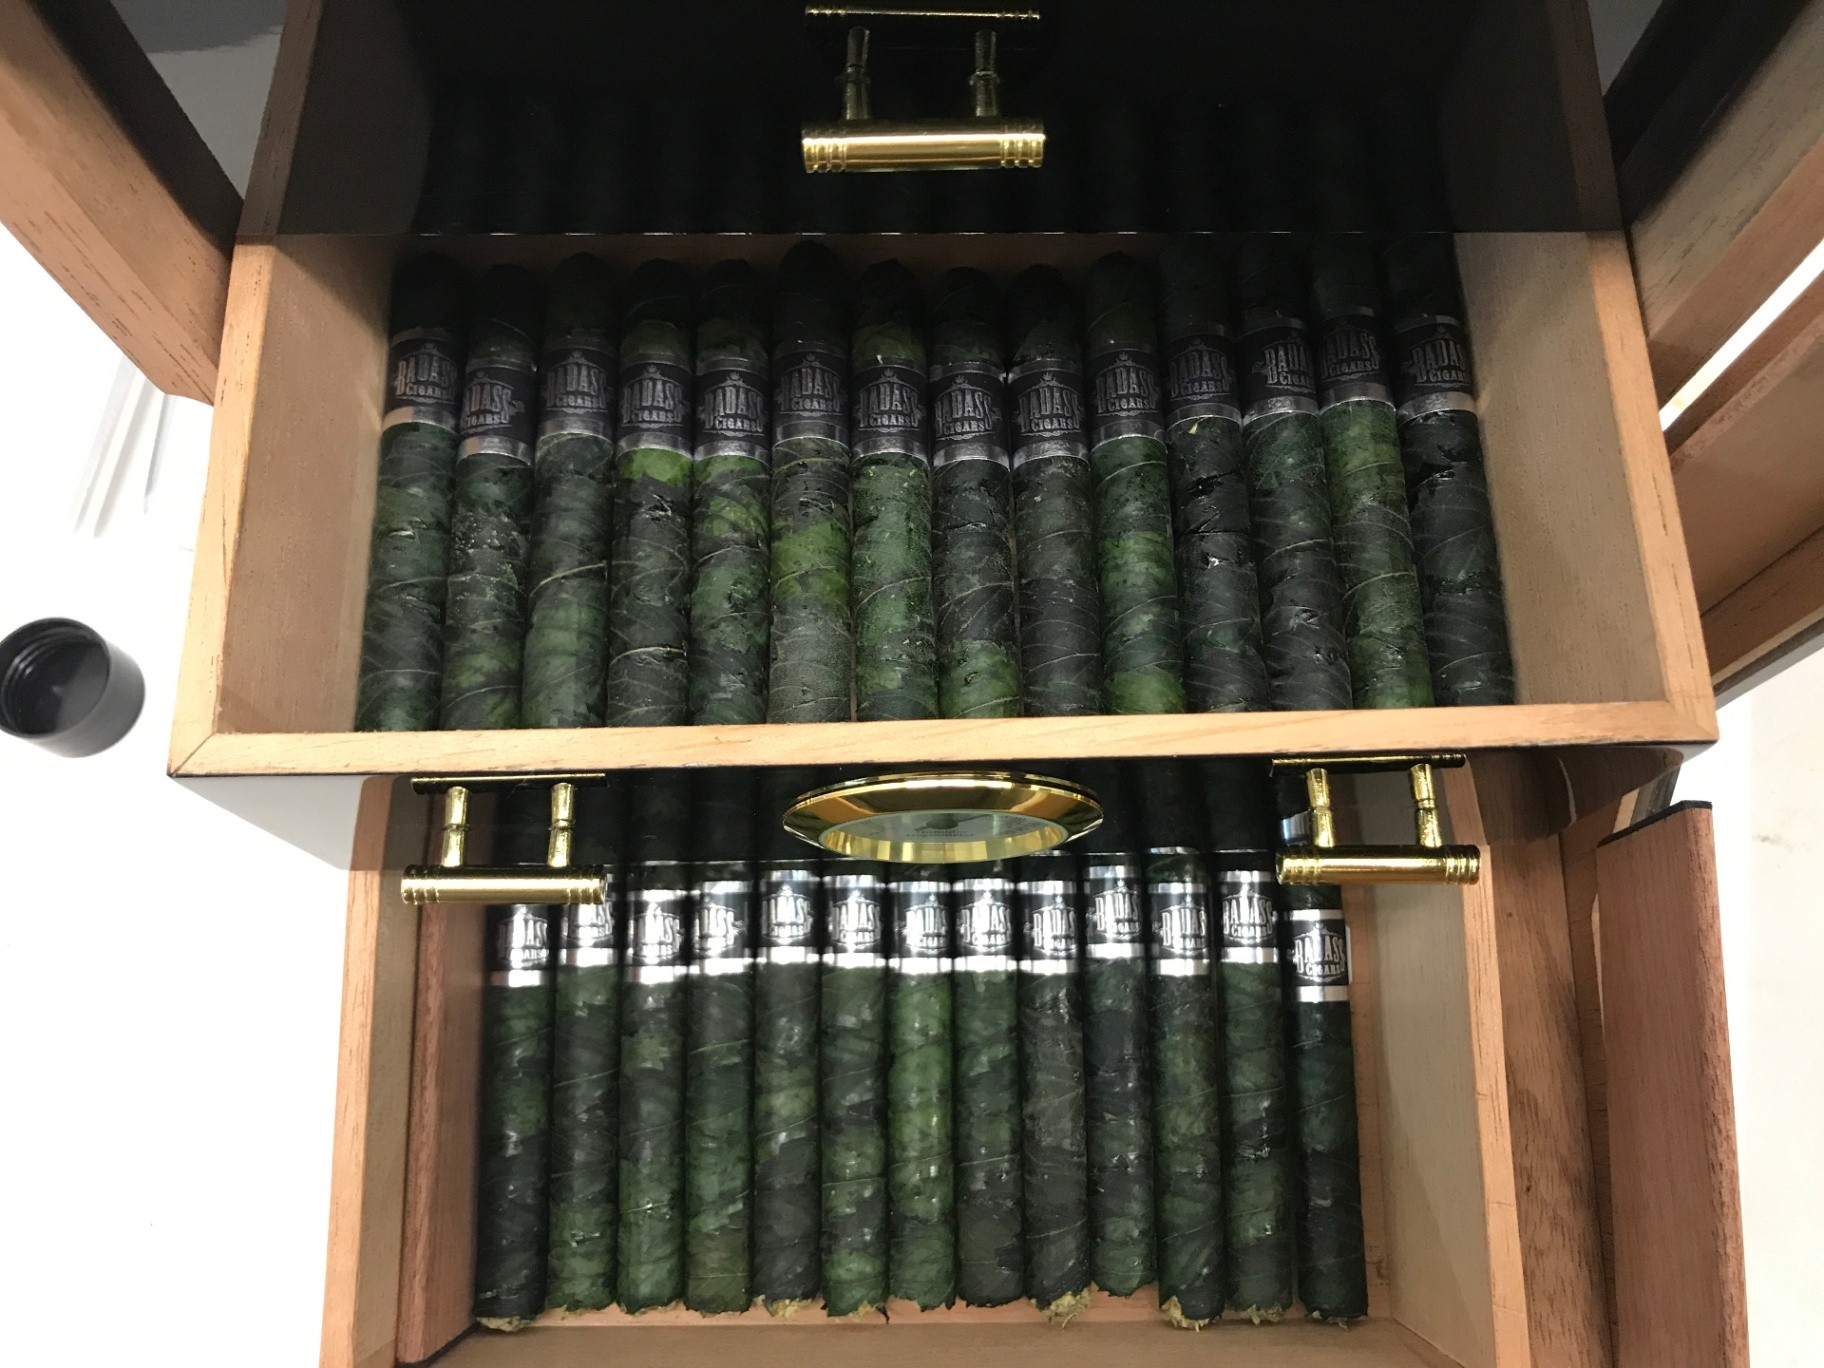
More luxurious cannagar makers will opt to use cannagar leaves and concentrate, but I must state - this is a fairly labor intensive process than many choose to opt out of.
The process involves curing the leaves, then knowing how to handle them during the entire process.
Leaves can be cured on the cannagar body itself, but this can cause different problems.
Cannagar Tools owner uses pre cured leaves, cured in house.
Unfortunately we cannot offer to ship the leaves, and leaves can be hard to procure depending on the legal conditions in your state.
This part of the process goes beyond the basic use of the tools, but if you are interested in learning more, Cannagar Tools offers consulting services, remote and on-site.
Business Address
Cascadia 3D
758 Fowler St
Raymond WA, WA 98577
Payments Accepted:
Payments Powered by Stripe
